From Magazine Pages to Wearable Art
Many of you have e-mailed me on how to cut paper into triangle strips ready for making beautiful paper beads. When I started experimenting on how to make paper beads I get frustrated when I get those odd shape looking ones. One day, as I was opening a package from my sister (she ships on a regular basis paper beads that they have made), there was a small pouch tucked in containing different odd shaped paper beads. She had a note for me that these are “rejects” but she did not have the heart to throw them away. They were beautiful, there’s one that’s shaped like a bell, a Christmas tree, a bottle, an egg and they are all unique. So, even if you don’t cut a perfectly proportioned triangle don’t despair this will add character to your jewelry:) Anyway, here is a video on how to cut them into strips of triangles.
The paper beads in this necklace were made from Recycled Avon Magazines.
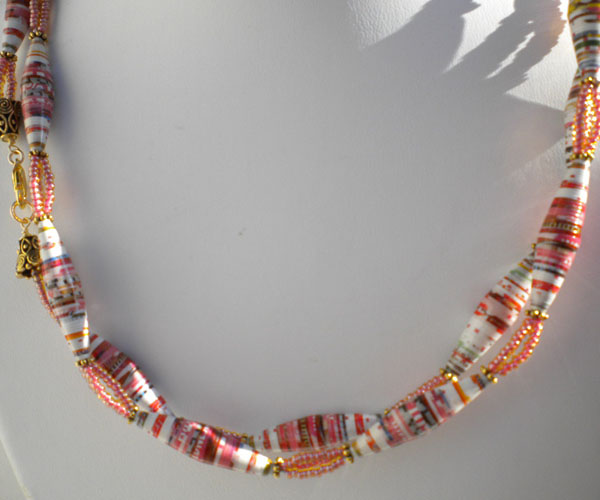
How To Make Paper Beads w/ a metal roller
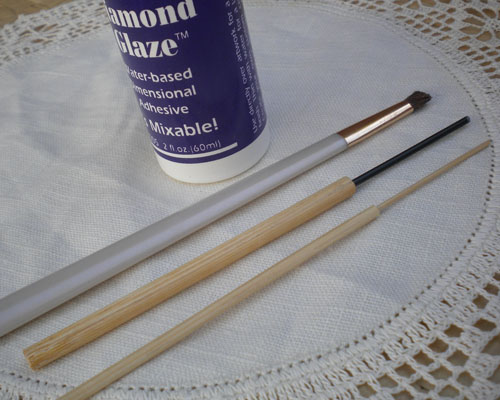
There are several ways you can make paper beads, rolling paper with a metal roller (available for purchase from Aubrey’s Beads, just $12, sold as kit) is just one of them. I like using them because the holes is not as large compared to paper beads made on a dowel or a skewer. I had this specially made with a bamboo holder, you get a good grip of the roller this way. The materials you need are the following and for instructions, please watch the video.
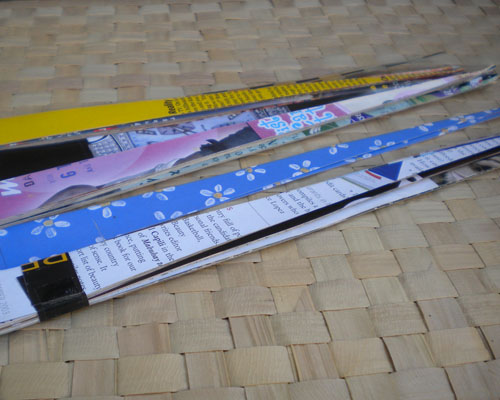
Strips of old magazines cut into triangles
I am using Diamond Glaze to glue the paper and also as glaze/top coat. I like using Diamond Glaze because it gives it a glossy finish and it dries quickly.
Here is the how-to video:
Get inspired and make some beautiful paper beads.
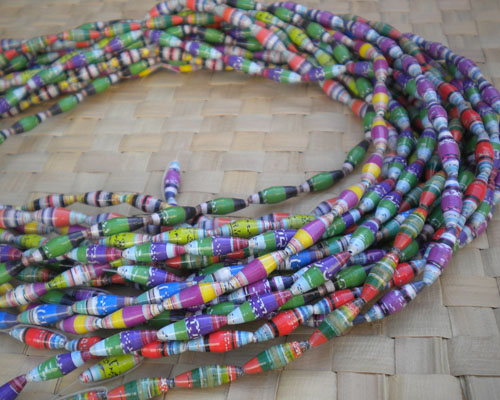
Think Pink Paper Bead Stretch Bracelets
October is Breast Cancer Awareness Month and if you need to make something quick and easy to give as a present to someone whose life is somehow touched by this disease, or just to show your “pink” side, stringing on elastic is the answer. I am going to show how to properly string beads on elastic, not just paper beads (because this is a paper bead site I will be using paper beads:). You can certainly string swarovskis, pearls and other beads into elastic, you just need to use the right size of elastic for each type of bead: .5mm for smaller beads like swarovskis and pearls, .8mm for heavier beads like glass and stones. It is really quite simple.
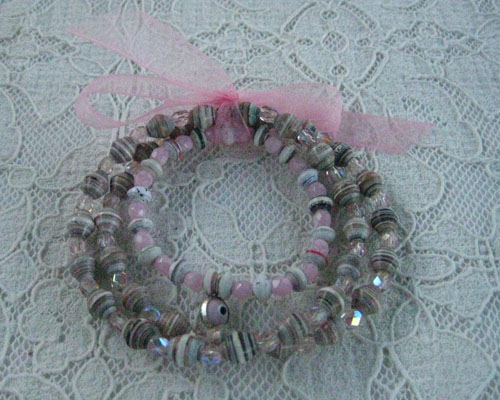
Mommy and Me Bracelet
Here’s another example of stretchy bracelet, using paper beads mixed with pearls and crystals.
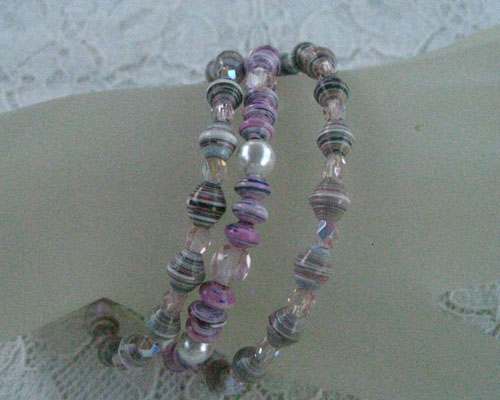
This one is a baby bracelet, I added the “evil eye” charm believed to protect the wearer from evil spirits.
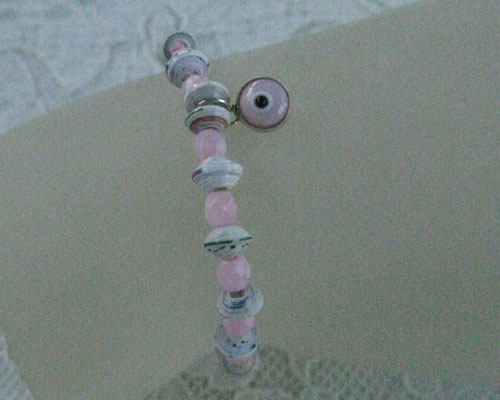
Baby Bracelet
The materials are:
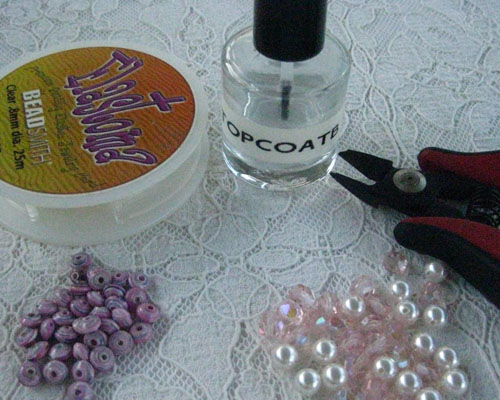
Materials for stretchy bracelet
- Saucer shaped paper beads in pink
- clear nail polish
- elastic .5mm (about 10 inches long)
- scissors or a nipper tool
Step 1 -Cut a 10 inch elastic and put a bead stopper on the end so your beads does not fall off.
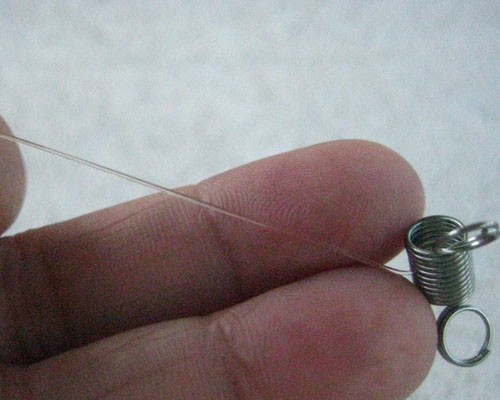
Step 2 – String the beads into your elastic, you can follow a pattern or you can string beads at random (which can also be fun). In this case I have a pattern as you can see here:
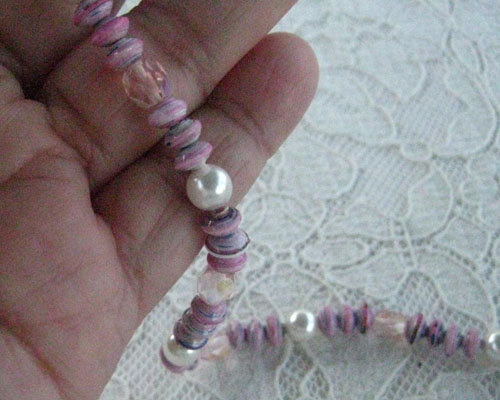
Step 3 – Take both ends and tie a square knot: right over left and left over right.
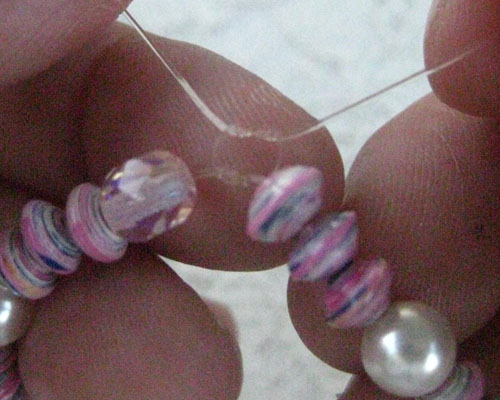
Step 4 – Put a dab of clear nail polish into the knot.
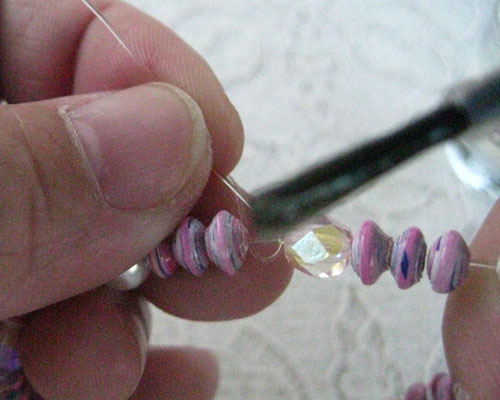
Step 5 – Do not cut the elastic yet, leave it to dry for about 10 minutes.
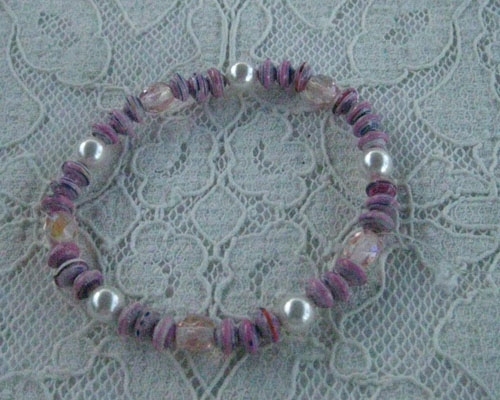
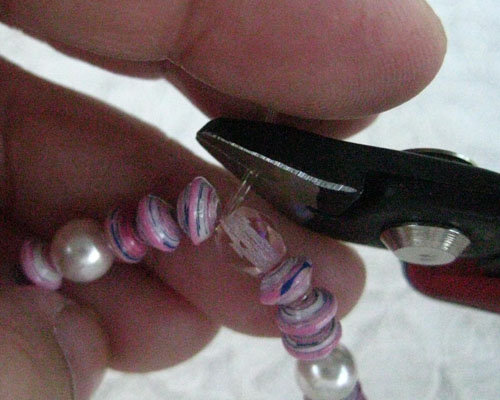
Step 6 – Cut the elastic with the cutter or scissors, leave about 1/8 of an inch.
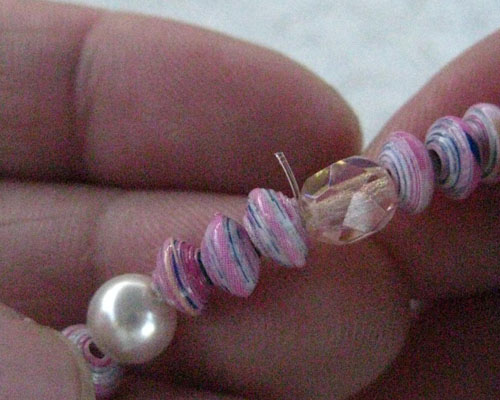
Step 7 – Pull the knot so that it goes inside the hole of the bead that has the bigger hole. Tip: always put a bead with bigger hole (paper beads is perfect for this) so that it is easier to pull the knot in.
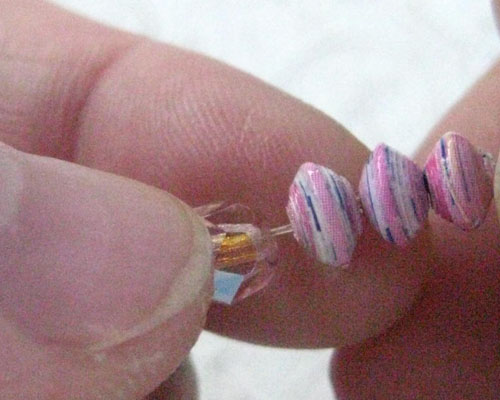
Pull the knot gently to hide inside the hole of the bead next to it. I pulled the knot inside the paper bead in my right hand, so you don’t see the knot anymore.
The petite pink paper beads, comes in strands and you will need one strand for one bracelet (they’re really small). Available at www.aubreysbeads.com
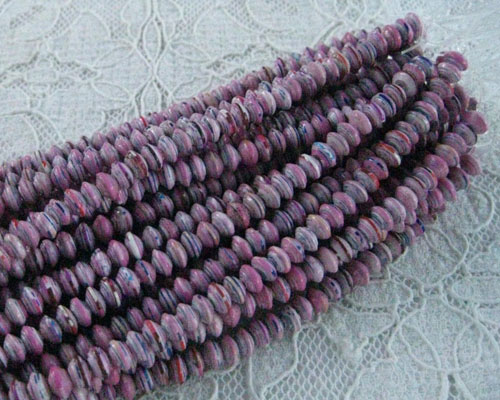
I have a few to share to the first 50 visitors. Just leave me a comment on what you want to make with it. Thanks for stopping by.
Read MorePaper Beads and Rosary Loops
This necklace is easy to make once you get to learn how to connect the beads with “Rosary Loops” – notice how rosaries beads are connected in this manner. First of all, is a quick “how to” on rosary loops. The paper beads used in this project is bigger and more rounded, and even if they have bigger holes it will not go through the loops. You can use other type of beads of course but since I am the “paper bead lady” I try to make everything in paper beads. I loved the balloon pendant, the colors just cheers me up, I thought it’s just perfect for these paper beads. So, one of those days when you feel like taking off but can’t, I wear my paper bead balloon necklace instead and dream of those far away places…..
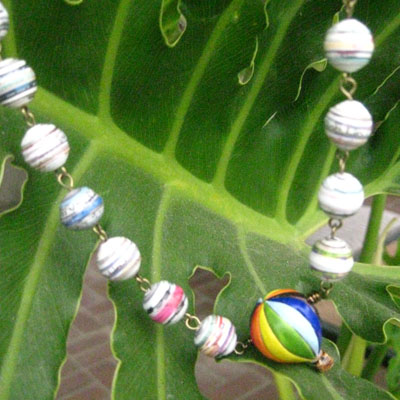
- Paper Bead Balloon Necklace
Of course you can substitute everything, use other kind of beads and pendant. What I’m going to show you is just basics of rosary loops that can be applied into making bracelets and necklaces.

Here’s an example of a bracelet made with rosary loops. I used the same size beads and amazonite beads left over from previous projects.
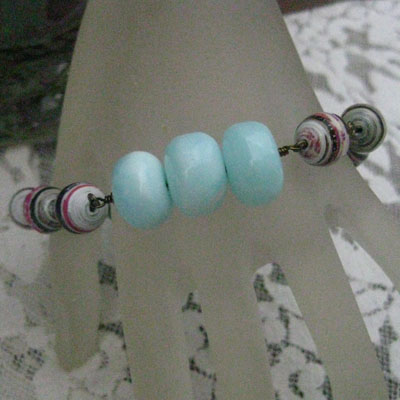
- Paper Bead Bracelet and amazonite
Materials are:
- Tools: flush cutter, round nose pliers and chain nose pliers
- paper beads or other type beads
- 30 pcs. 1″ inch head pins
- jump rings and lobster claw clasp
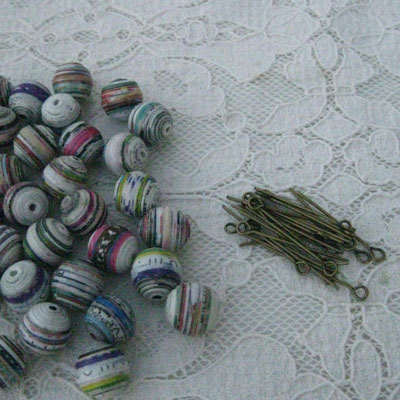
- Paper beads and eye pins
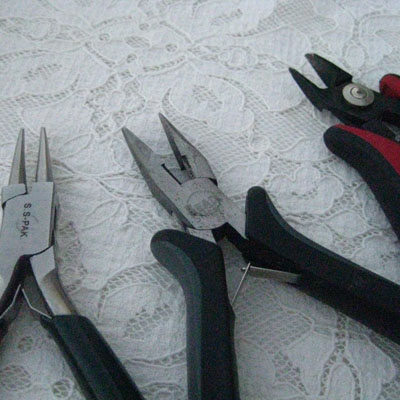
- Tools
Here’s the Steps:
(read on for photo tutorial, or scroll to the bottom of the page for a video tutorial!)
Step 1 – Put a bead into the head pin.
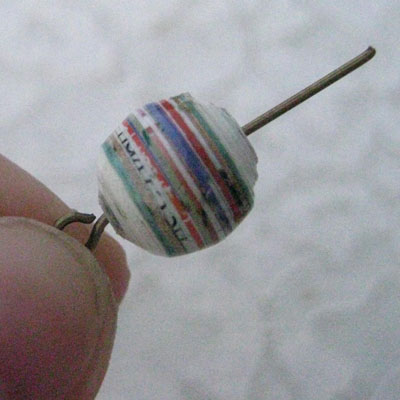
Step 2 – Cut the head pin to about 1 cm
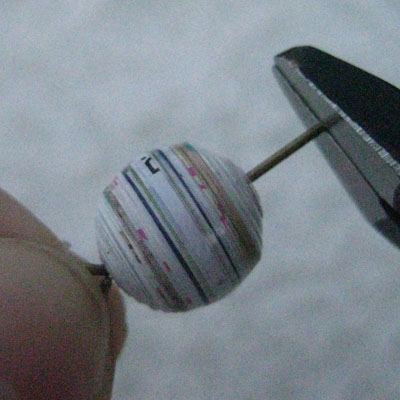
Step 3 – Bend the head pin at 90 degree angle away from you.
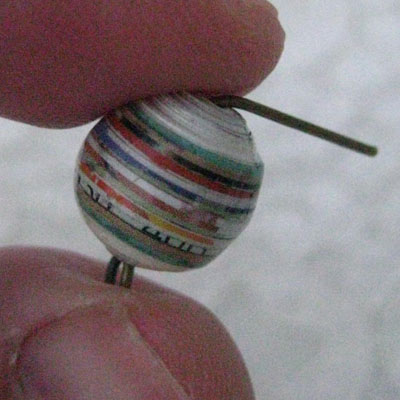
Step 4 – Take the round nose pliers and put the head pin in between the round nose pliers. Make sure that the tip of the head pin is not sticking out of the round nose pliers but right in between the jaws of the round nose pliers.
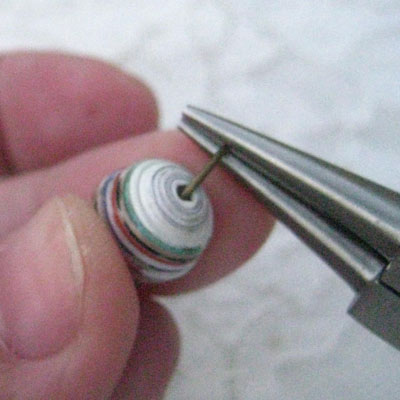
Step 5 – Slowly turn the round nose pliers towards you with your wrist until you cannot turn it anymore which at this point you need to let go and reposition the pliers

This is how your loop should look like.
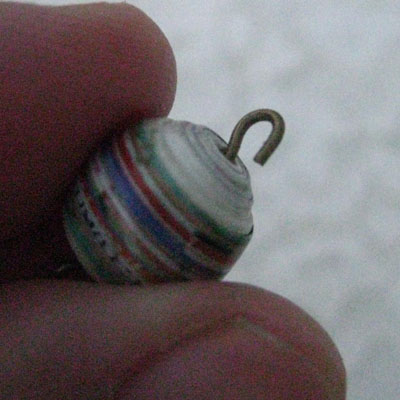
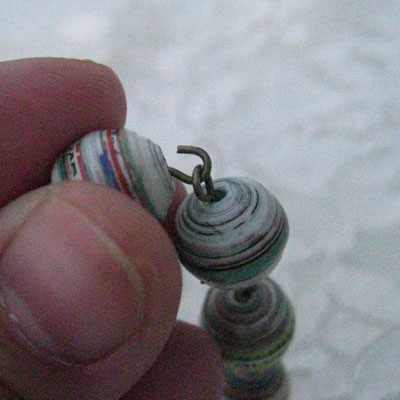
Step 6- Before you close the loop attach the rest of the beads already made and continue to close the loop.
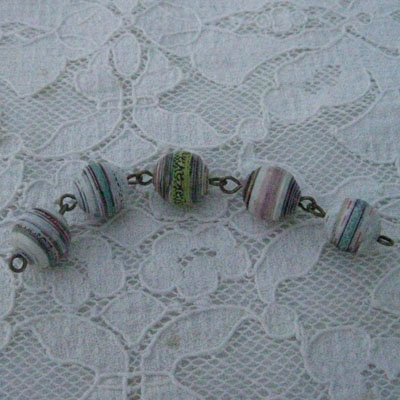
This is a finished portion of the chain interconnected with rosary loops. You continue doing so until you reach your desired length.




Recent Comments