How To Make Round Paper Beads / Metal Roller
I get emails from paper bead enthusiasts on how to achieve a more round paper beads. So, here it is a vlog I think would explain it best plus a few photos. Materials are: metal roller or bamboo roller (either one can be purchased at aubreysbeads), Judikin’s Diamond Glaze but you can also use any decoupage medium or mod podge and glossy magazines or catalogs. Tip: Rounder (fatter) bead uses a longer strip of triangle paper, magazines usually are 15 inches wide when it is opened, you need to use two of these by gluing them together.
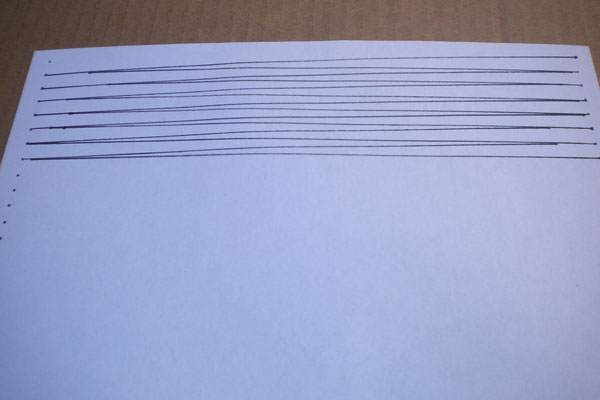
Next step is then to mark both ends, how wide is the base of the triangle determines how big or how wide is your bead. For the diamond shaped paper beads it is 1/2 inch wide for the smaller round beads it is 1/4 inch wide. I am showing the illustration on white paper so it shows better.
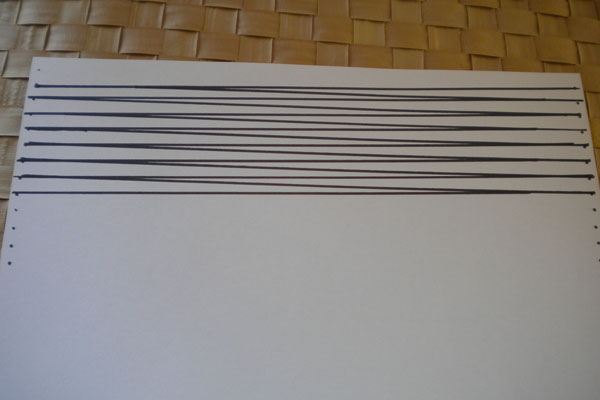
Here is a close up of one end of the paper.
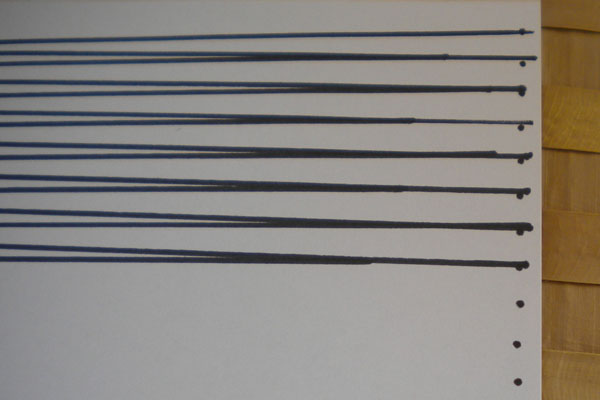
I used the rollers that we carry in our online shop, but of course you can use whatever you have available, to achieve a smaller hole these tools are great for that. We actually sell them as kits with strips of paper and glue.
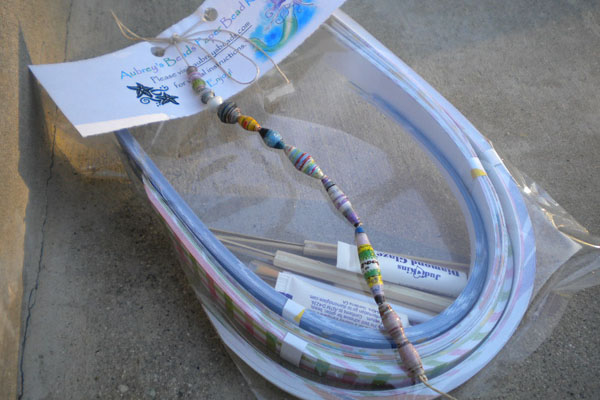
Here is the video
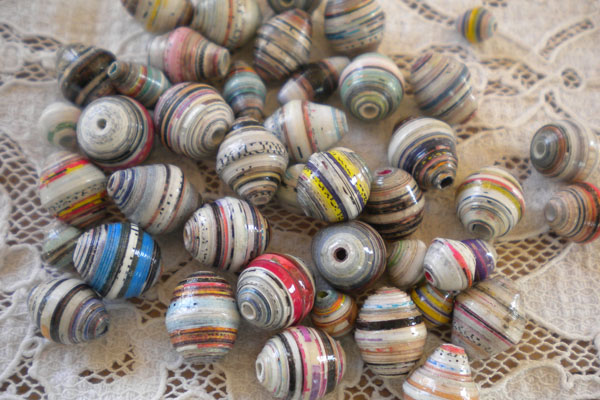
Some samples of finished round beads
I hope you have fun, I welcome any comments, questions, feedback…….
Read MorePaper Bead Christmas Star Ornament
This Christmas instead of sending Christmas cards I thought making Christmas star ornament from paper beads for my clients and contacts in the home care industry. The star ornament reminds me of Christmas lanterns we hung from our windows as a child. I know they will think about me as they hang these little star ornament on their Christmas trees.
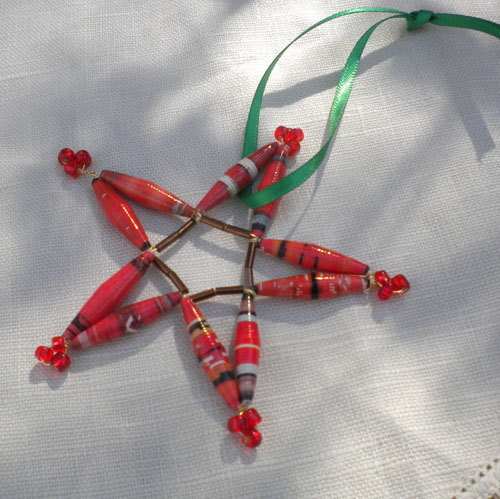
The materials used for this project: paper bead tubes (I’m sure by now you have made quite a few), 3-4mm glass beads or crystals, 24 gauge craft wire and ribbon. The paper bead tubes are made with the bamboo rollers we have and you can use your leftover holiday paper.
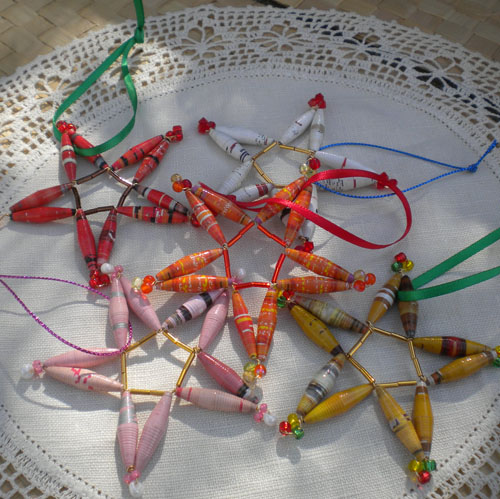
I made a video on how-to :
I thought that the little star ornament would also be nice as a gift tag.
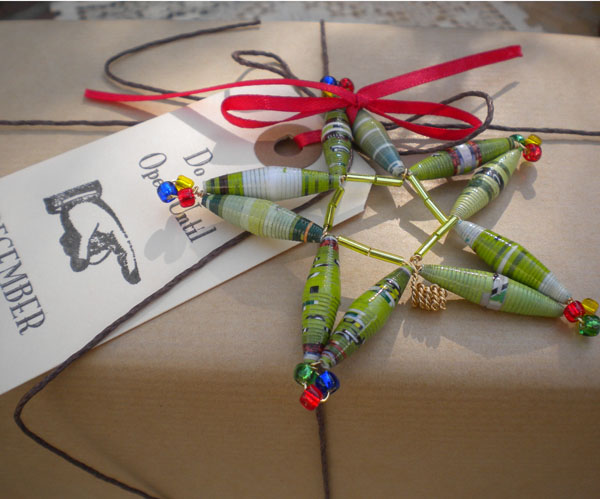
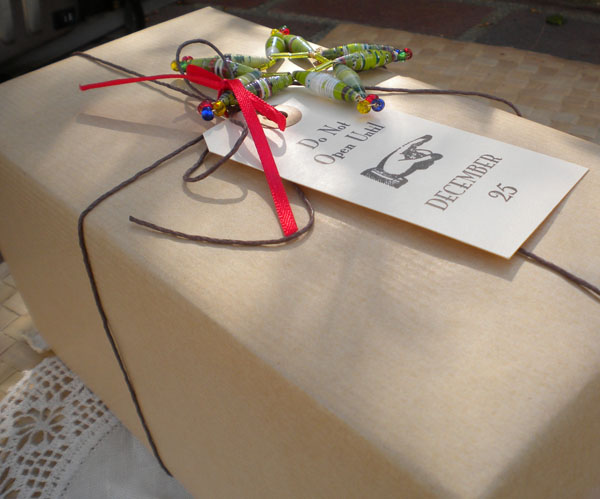
I think this would be nice also as a garland and hang it up by the fire place or around your Christmas Tree.
Read MoreHow to Measure and Cut Paper Beads
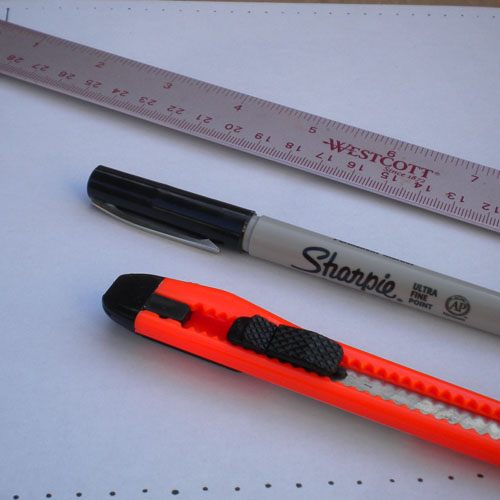
I was asked by one reader if there is a template for measuring and cutting paper for paper bead making. I guess there is, but that would limit the size in terms of length of your strip of paper. The longer paper strip will make a more round and thicker bead. Here is a tutorial on how to cut the paper for paper bead making. I showed it here in a piece of regular printing paper so you can see the marks I made. You can apply this principle to longer paper.
You need to mark the top part and bottom edges of your paper to your desired size of your beads. In this case I marked the 1/4 inch for a smaller bead.
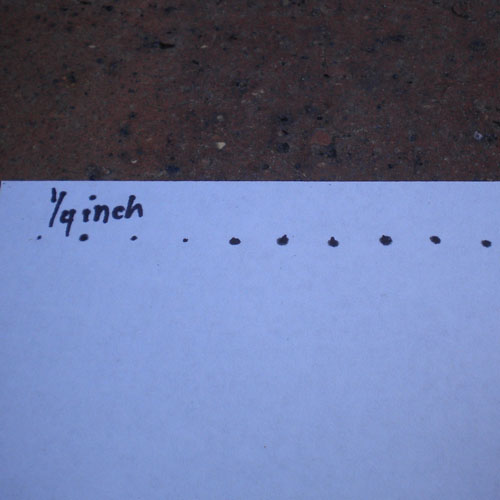
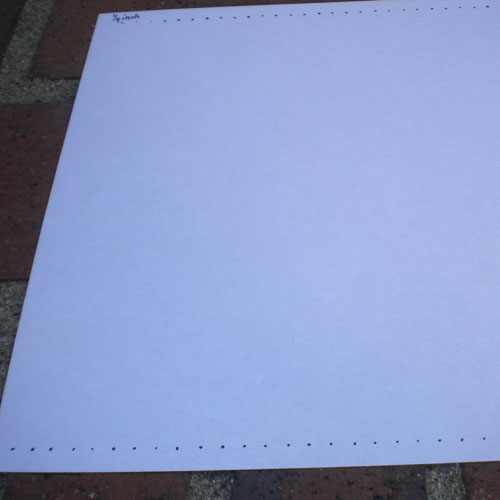
I would then take my ruler, to trace the dots and connect them forming a triangular shape. Tip: If you want a longer paper you just need to use two sheets or two magazine pages glued together and use the yard stick instead of just regular ruler.
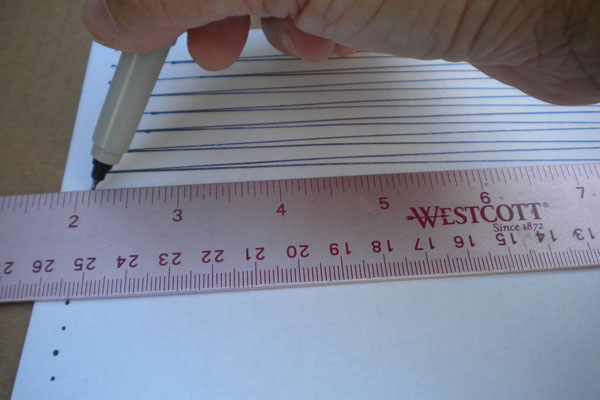
It should look like this.
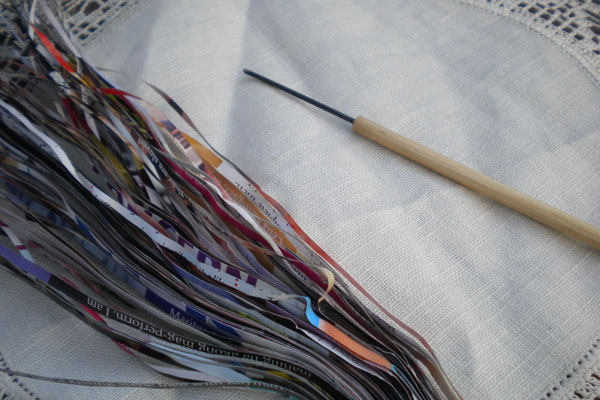
You can then cut it into strips by using a craft knife or scissors. Below are cut up magazines ready for rolling into paper beads.
Now you’re ready to make some beautiful paper beads. So, go ahead check out your mailbox for those glossy holiday catalogues they’re sending out this year and turn them into beautiful wearable art.

“Down to Earth” Paper Bead Necklace
I came across a necklace pattern in one of my jewelry books, which really seemed to stand out to me. It was made of beautiful crystals, gold, glass beads, and pearls. The necklace looked so elegant, however it seemed to be too much for an average day. So I thought to myself, “How could I possibly turn this piece into something a bit more casual, yet keep the unique design?” … and POOF I had an idea!
I decided that I would turn the once elegant design into something more “down to earth”. This is what came to mind… I picked out strands of Paper Beads in a variety of different shapes and colors, ranging from small to big, bright to brown. I accompanied them with some wooden beads that were round and oblong, a little over a dozen of tiny 3mm Swarovski pearls and then scrounged up about 6 pretty, tan Indian glass beads. Now I was ready to create a unique, earthy, ethnic necklace, which I could accessorize with an everyday, casual outfit.

Materials:
- 250-300 Mix of Beads, [ranging in size from 3mm rounds-18x10mm ovals]
- 6- 4mm Jump Rings
- 6- Sm. Calotte Crimps
- 1-Three Strand Necklace Clasp
- 60 to 80 in of 20 Gage Craft Wire
- 2- 20 in Nylon Cord
- 1- 22in Nylon Cord


Instructions:
Step #1.
Thread all beads onto wire, however be sure not to include any of the bigger beads within the first and last twenty strung. Leave about 6-8in of wire at the either end.

Step #2.
Attach the two 20in nylon cords to the two outside loops of the clasp using the calotte crimps. Then attach the 22in nylon cord to the center loop of the clasp using the remaining calotte crimps.

Step #3.
Take the 22in nylon cord [longer] and tie an overhand knot around the other two Nylon Cords about 6 1/2 in away from the calotte crimps.
Step #4.
Take the same 22 in nylon cord and tie another overhand knot 6 ½ in from the end of the other side. Trim all Nylon Cord to the same length if needed and then attach them to the clasp using calotte crimps.

Step #5.
Thread one end of the craft wire through one of the knots then wind the wire around the three strands of nylon cord [towards the clasp], neatly to secure them in place.

Step #6.
Take the beaded wire and wind it around the strands of nylon cord, progressing neatly to the other knot. You can use a pencil for more support when wrapping. Finish by securely fastening the beads and then repeating Step #5.

Read More




Recent Comments