Saturn’s Moons In Paper Beads
I see how you like the Beads In Orbit bracelet, and some of you have decided to make this type of design for the bead trade. Here’s is another example using three beading wire instead of two and I am calling it Saturn’s Moons in paper beads and a video tutorial of Kayla showing you how.

The video shows you how to make this bracelet using the two strand method.
Like I said on previous posts, I will continue to feature different designs to give you ideas and then we will decide (by vote!) which one we will be making for the trade on October 23rd.
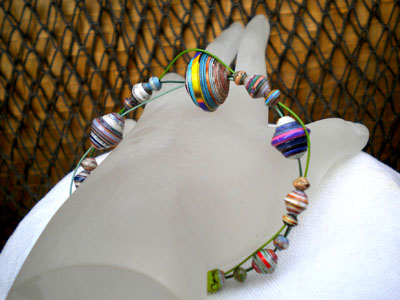
I also like this style, it shows off the paper beads really well! For the trade participants – wire and findings will be included in your kit so you don’t have to worry about that. There is a catch though, you have to make your bracelet for the show and tell 🙂

Color of Fall-Paper Bead Trade
A few bead traders have already signed up for our Color Of Fall Paper Bead Trade, and I will leave this post open until Friday to give a chance to those new visitors to our blog. I will continue to update this post each day with new fall jewelry ideas and paper beads with fall colors. How does it work? To make instructions easier to digest, here’s a little poem for you 🙂
Make Paper Beads of different size and shapes
with the color of fall
Twenty to Thirty should be plenty
You will then send it to me
To be stirred into a most colorful brew
A dash of orange, brown and yellow
It will look like a rainbow
It will then be sent back to you
In a pretty little bow
When you get your beads you can make it into a necklace or a bracelet, let your imagination take a flight! Here is an example of bracelets, wire wrapped with gold swarovski crystals. These Golden Paper Bead Bracelets is just right in time for the holidays.
The finished paper bead jewelry would be multi colored and different shapes as it will show case the different beads from all the participants. I always say this; paper beads jewelry can be elegant and I just treat paper beads as if it were real gems. Here is an example of paper beads mixed with montana blue swarovski crystals.
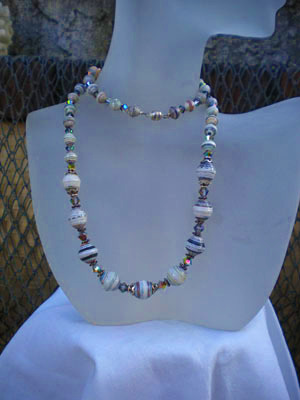
Silver bead caps were put in between to hold the paper beads on its side.
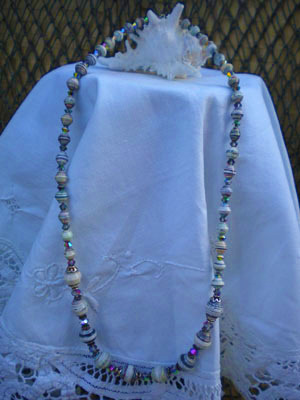
Paper beads can be fun, elegant, chic and definitely wearable!
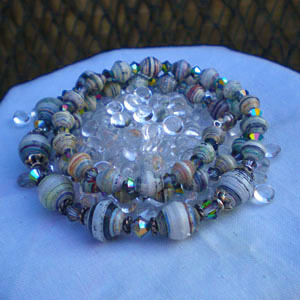
You still have until September 26th to join in the Paper Bead Trade – Fall Theme. Just left me a comment here or email me.
Upcoming Post: Video how to on Saucer Shapes
Paper Bead Balls
These little charm balls are so simple, to dangle as charms or as a connector. The materials that you need: head pins or eye pins, 6/0 seed beads, 4mm crystals and 5mm round paper beads. Tools: flush cutter and round nose pliers.
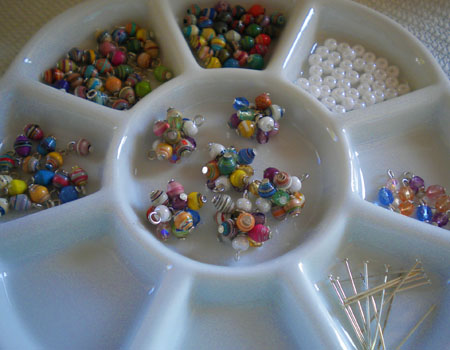
Here’s Kayla, showing us how:
This will look pretty to dangle on a chain or interconnecting each other as a necklace or bracelet.
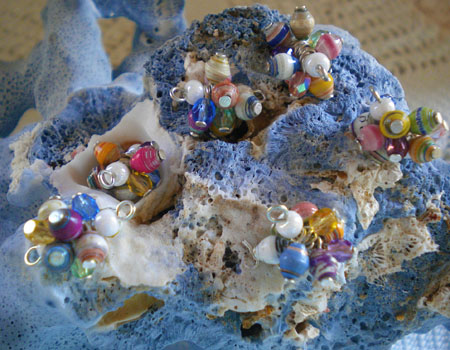
I would certainly like to try using the olive shaped paper beads mix with round beads, I think that would look pretty also.
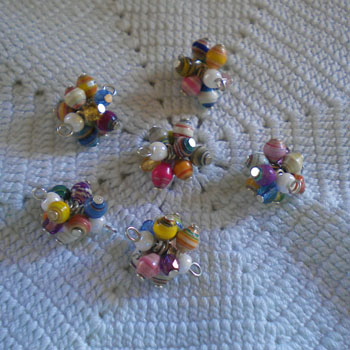
Upcoming Posts: Necklace and Earrings using the Paper Bead Balls.
Paper Play Sunday
I had a most relaxing, fun-filled Sunday playing with paper. I am sharing this with you so you can try it, and see for yourself how much fun it is! I had so much left over craft paint from previous projects and just have to use them before they harden up and then I would not be able to use them anymore. What I had in mind is just to put layers of paint on a piece of paper, magazine cover, brown paper bag whatever kind of paper that you want to re cycle and make them into paper beads.
First, I picked out a paper bag from an ice cream place, a friend visiting brought ice cream cake in this bag:
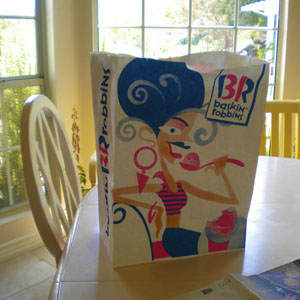
And no, I did not eat all the ice cream by myself although I am totally capable of doing that, in case you’re wondering it was butter pecan 🙂
Second, prepare your work space by covering it with old newspaper and tape it down so it does not move around as you work.
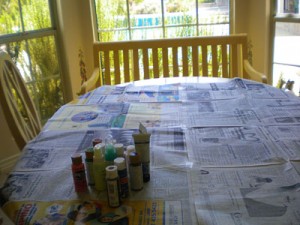
Reminder: Do not discard the paper, save it for next time. The more paint gets to it, the nicer it will look and can be used for other projects someday.
Third, gather your paint, glitters if you have some, stencils or stamps, tissue paper or paper towel (which is what I used), brushes and sponges.
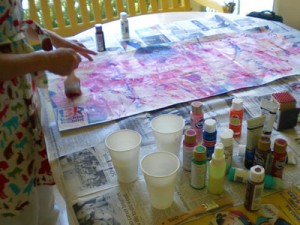
Then let the fun begin……
Procedure (in a nutshell): cut the paper bag open and lay it on your table, paint it white or gesso if you have, brush watered down glue on the area you want the separated paper towel (or tissue) to go in, paint it with layers of different colors (on top would be your dominant color), stencil or stamp with design if you like, paint glitter paint if that is the effect you like on your paper.
Voila! This will make nice scrap book pages or journal pages
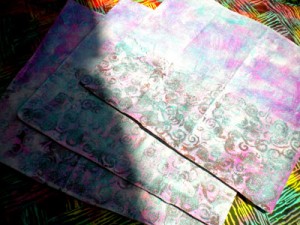
I used these paint on it and stencil on the bottom part, I was too lazy to do it all over but I guess it came out better this way.
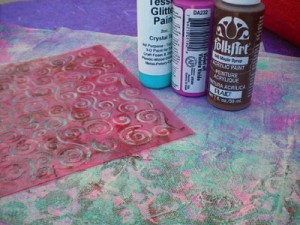
The ice cream bag was big enough, the small part of it that the paper towel did not cover, I painted it a different color, beige/pinkish tone.
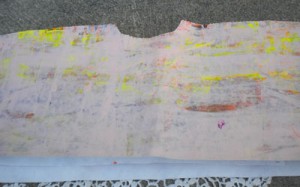
This is about 36 inches (length of the ice cream bag cut open), and cut out three strip of triangles and made it into paper beads!
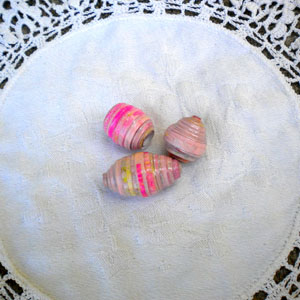
I imagine a brown paper bag would turn out just as nice. So go ahead, play……….paint………have fun……




Recent Comments