Paper Bead Pinwheels
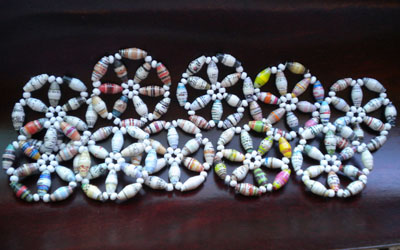
I have came across a pattern for making flowers called the Hana-Ami motif and you can find a simple step by step here. This design is so versatile that you can make it to look like a flower or something else, depending on the beads you are going to use. I made quite a few of these small ones and big ones, the smaller ones using olive shaped paper beads in magazine colors but mostly white makes it look like pinwheels. Now, I put them on anything; flip flops, hats, head bands and I am thinking on putting them on candles.
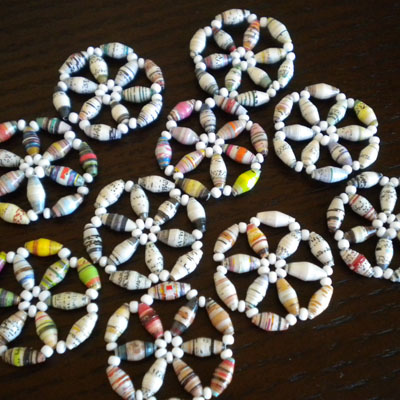
You can also connect them in whatever arrangement you want for a bib necklace
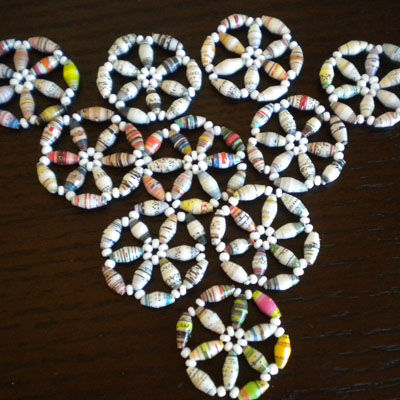
We used 8/0 seed beads to go in between and illusion cord or fishing line
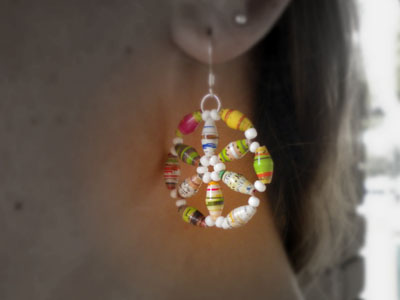
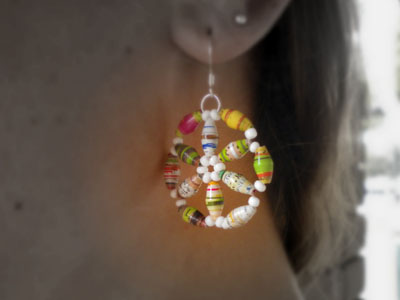
Here it is as an earring.
Or as a headband, I just use hot glue gun to affix them into a store bought head band
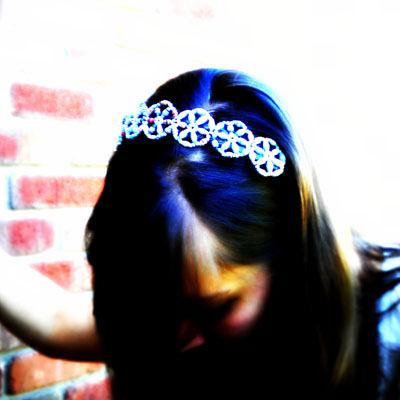
Another day of taking the ordinary to extraordinary!
Fuschia Flowers Flipflops
We had a post on how to make Hana-Ami inspired paper bead flowers. We are busy as bees making paper beaded flip flops now that summer is just around the corner. You can find flip flops of different kinds and colors and some of them have really yummy colors like this one. It matched perfectly with these fuschia flip flops. We used the olive shaped fuschia paper beads for the flowers and just glued it into the band of the flip flop.
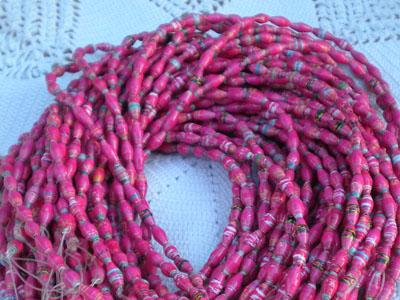
Here’s the before and after.

I looove how it turned out!
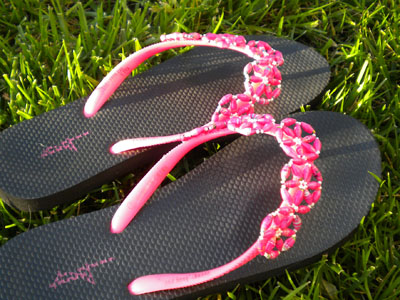
I had to paint my toes to match
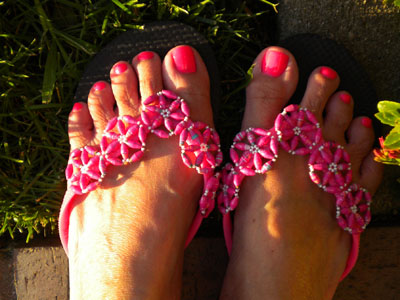
Another day of taking the ordinary to extraordinary with paper beads!
Read MoreA Woven Paper Bead Flowers
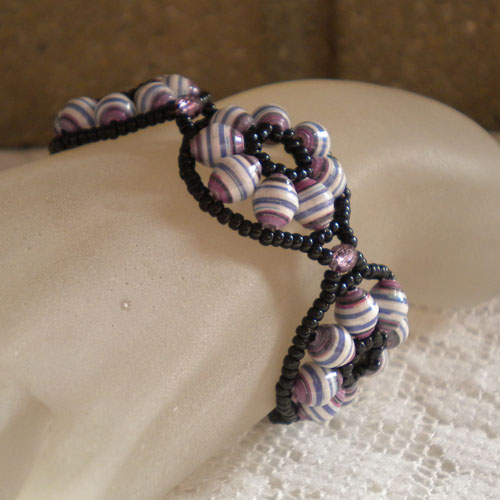
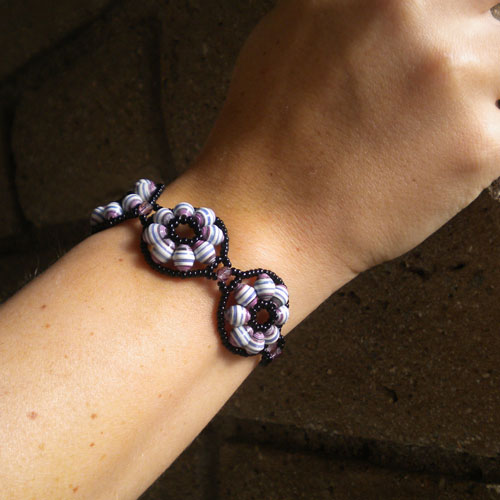
We are always looking for ways on how to interpret different beading techniques using paper beads. Kayla C, came up with this beautiful bracelet, inspired by a pendant using crystals, and you can find the pattern here.
She added a crystal rivoli in the center part of the pendant and finished it with glass pearls and crystals. It look so much like Victorian.
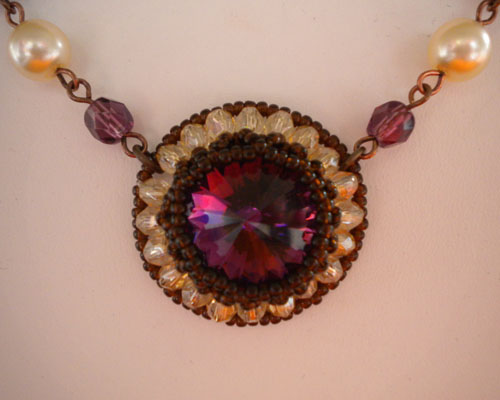
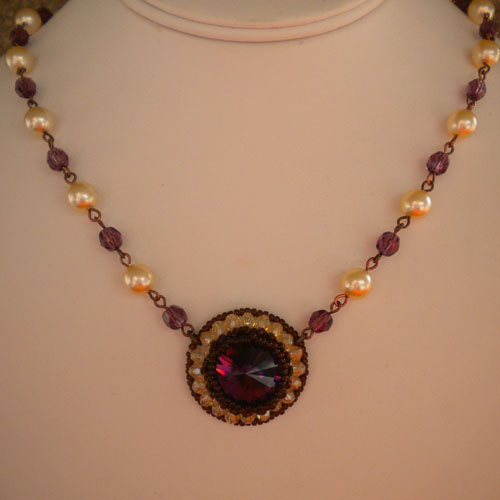
Here’s her other version of it with paper beads
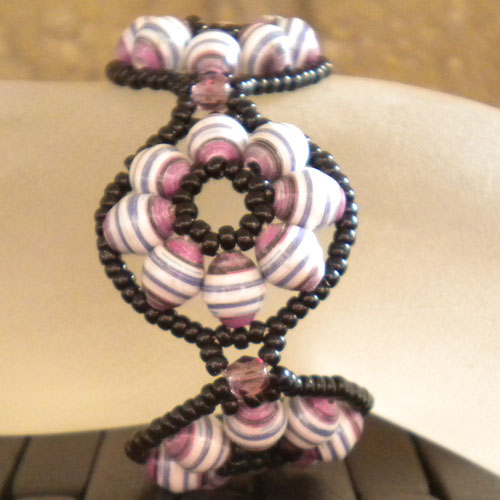
She used small round paper beads with stripe pattern.
Paper Bead Flowers
These flowers are so pretty yet so simple to make. You can glue it onto a ring finding or hair clip or as an embellishment for a scrapbook or card. It uses the regular paper bead tube, the size of the flower will be determined by how long the paper bead tube is.
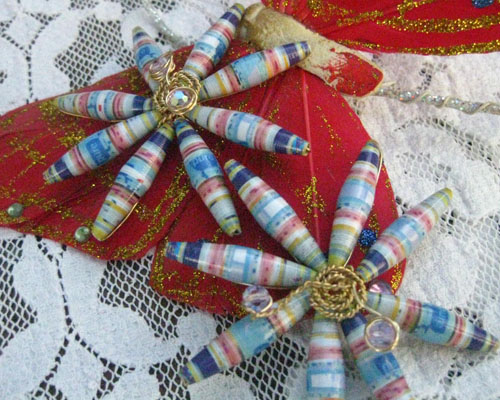
Paper bead flowers
As you can see in this flower I used a pearl for the center part but it can be just the coiled wire like above example or crystals.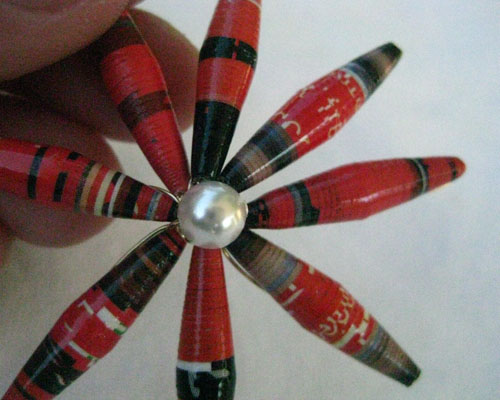
The materials and tools needed for this project are the following:
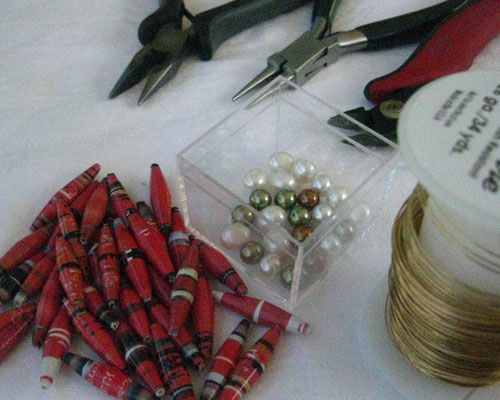
Materials and tools for the paper bead flower
- paper bead tubes
- 26 gauge wire gold or silver
- chain nose pliers, round nose pliers and flush cutter
- glass pearls or crystals
Step 1 – cut about 30-36 inches of 26 gauge wire and put in one bead leaving about 6 inch tail. The long end will be your working wire.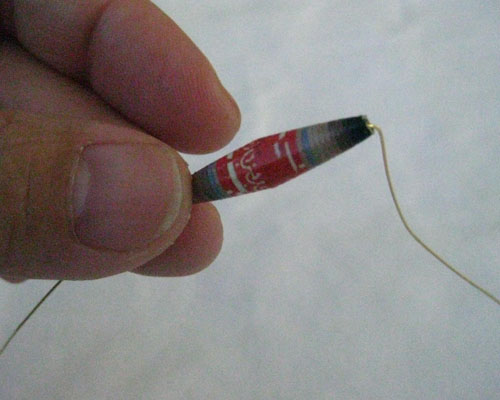
Step 2 – Pull the wire down the back side of the bead until it meets with the tail of the wire at the bottom hole of the bead and wrap it around once.
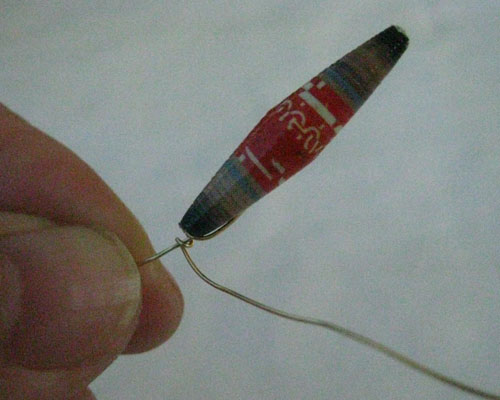
Step 3 – Pick up your second bead and put it through the same way, pull the wire down and wrap once at the base of the bead, bring it back up ready for your third bead.
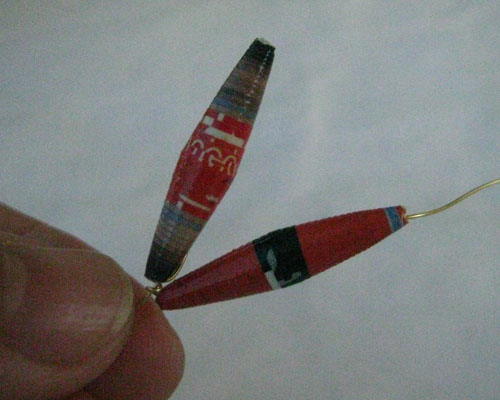
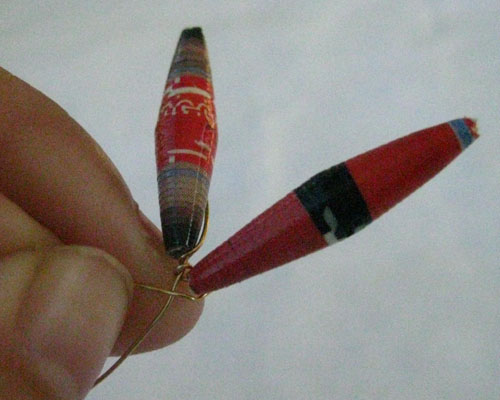
Step 4 – Bring the wire back up and insert your third bead and repeat the same procedure, wrapping the wire at the base of the bead.
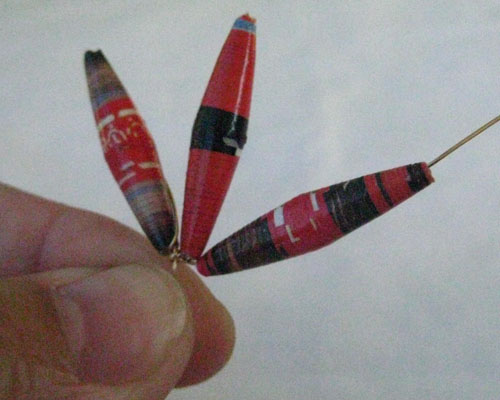
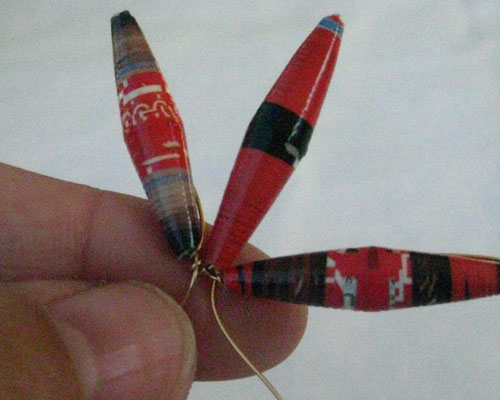
Step 5 – Put your fourth bead in and repeat the same procedure.
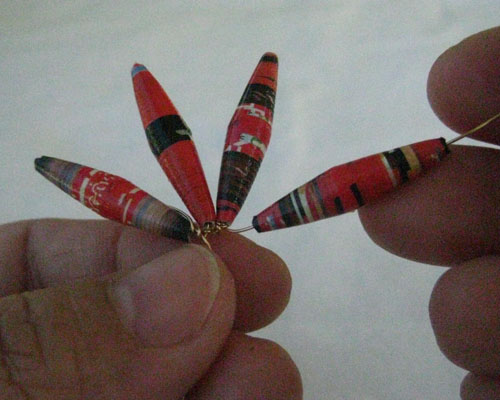
Step 6 – Continue until you have about 8 petals – although it all depends how fat your bead is, it can be 6 or 7 petals, in this flower I used 8 beads.
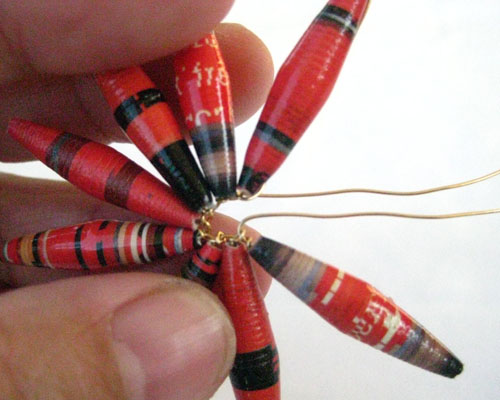
Step 7 – Take both wire ends together and twist them.
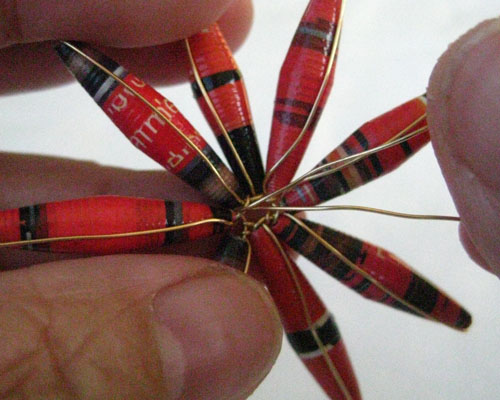
Here’s how to twist them together two or three times.
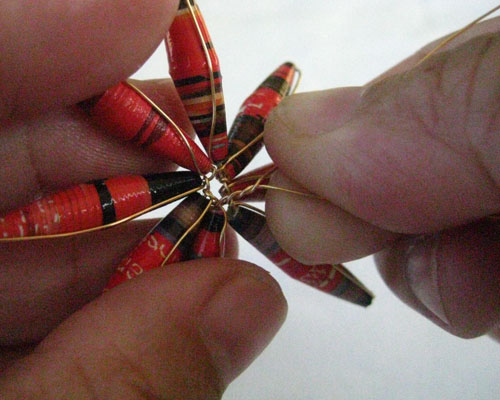
Step 8 – Take the longer wire (working wire) back up and insert your pearl or bead.
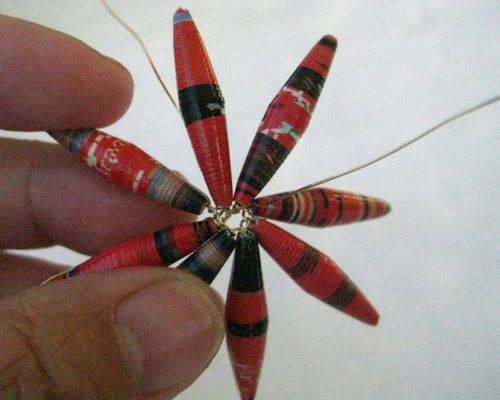
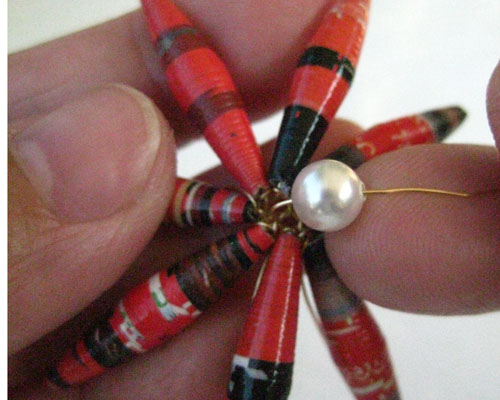
Step 9 – Take the wire back down behind a bead and back up and down again in each bead to secure the pearl.
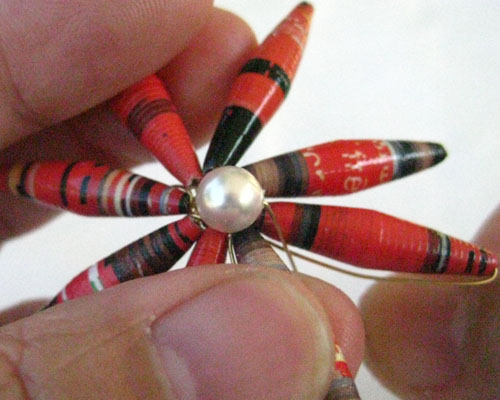
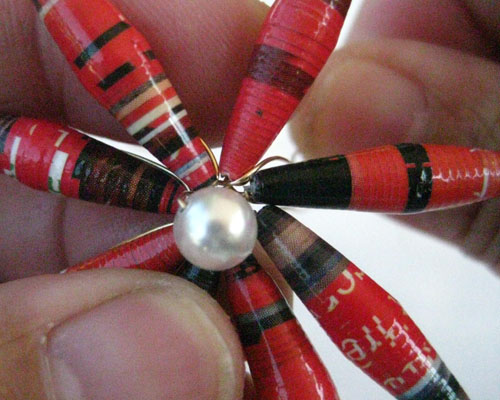
Step 10- After going around each bead securing the pearl, the two wire will meet up again in the back. You twist them together and cut it down to about 1 1/4 inch.
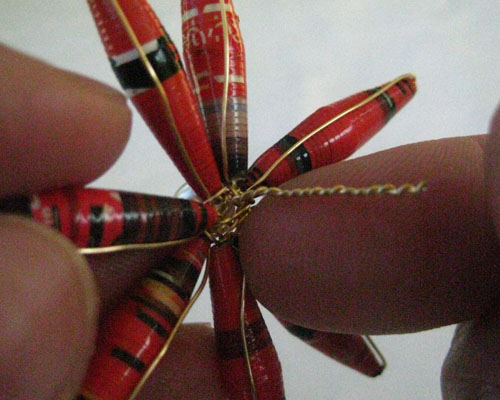
Step 11 – Take your round nose pliers and take the twisted wire and curl it around the round nose pliers until it lays flat at the center bottom of the flower motif.
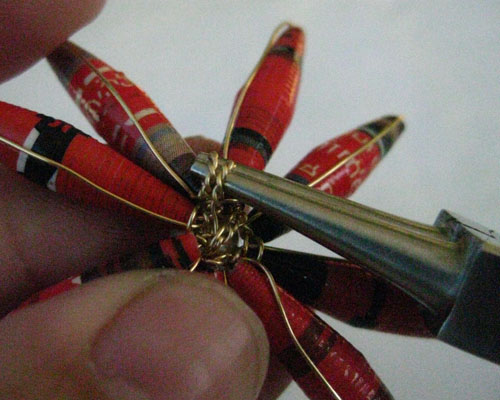
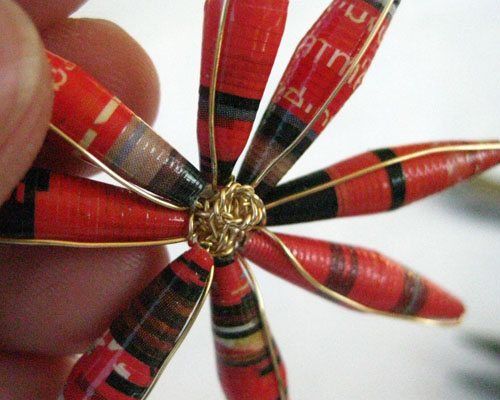
Now, you’re finished.
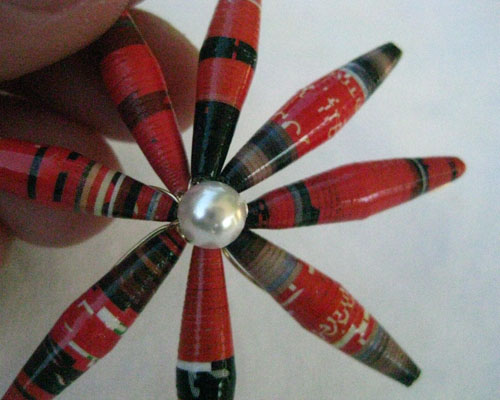
Please let me know if the instructions have been helpful. For more examples of paper bead flowers, I have them on my etsy shop.
Read More




Recent Comments