Inspired by Hanna
I happen to stumble upon Hanna’s blog, and I’m sure glad I did. She is full of ideas and encouragement to try new things and not be afraid to make mistakes. Her book A Creative Year is a joy to read. I was debating on buying it because it is not cheap but it is all worth it, an early Christmas present to my self.
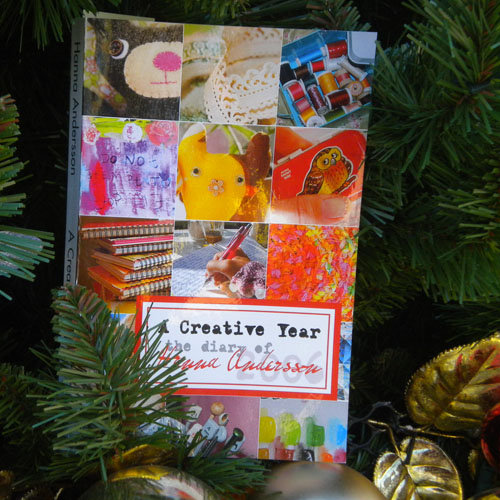
One of Hanna’s passion is creating what she calls “softies” most often times made from materials that she “thrifted”.
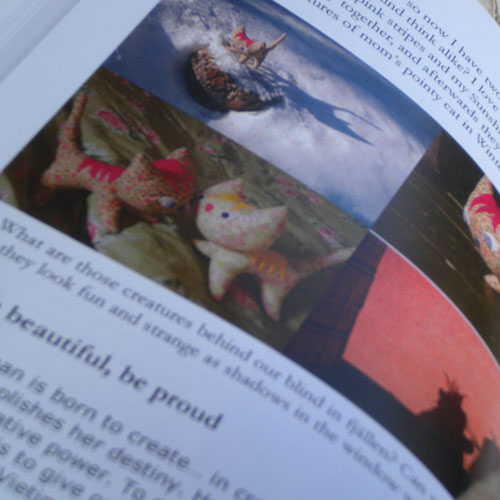
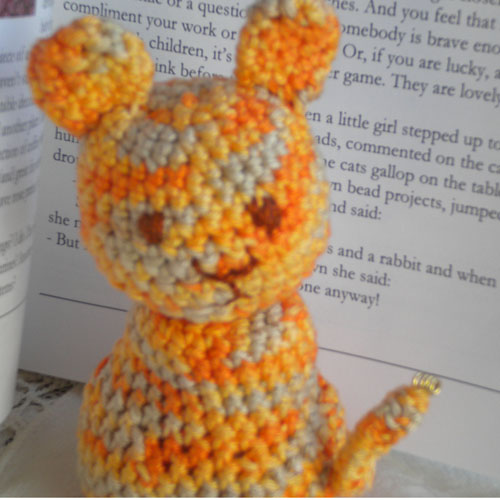
Inspired by her love of making softies, I made an origami cat, kind of the color of Hanna’s cat Smilla. I can almost say that this free form origami because there was no pattern. This is my first attempt at a cat and I’m sure I will do better next time.
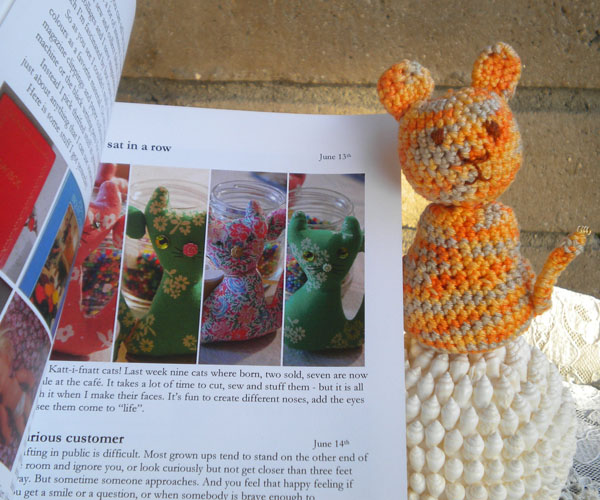
I think I should have made her ears more pointy. I filled her body with rice and fiberfill, the rice made her sit without turning over. After, I crocheted her tail I inserted craft wire to make her tail poseable.
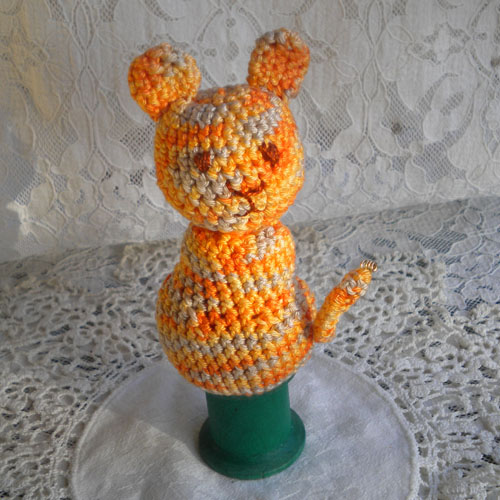
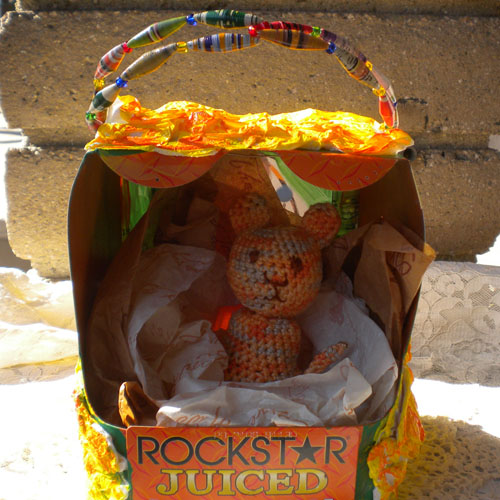
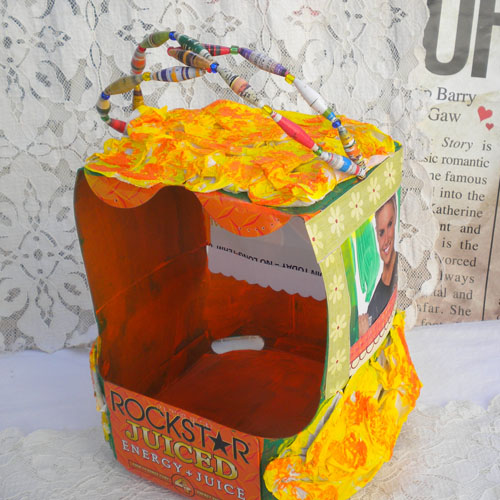
My little “softie” cat looks just like she is going places inside this energy drink recycled gift bag with paper beads handle.
I hope somebody from somewhere inspired you today.
Holiday Candy Caddy
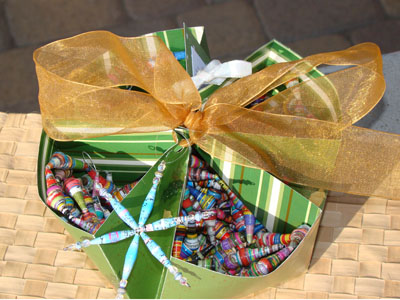
My neighbor Sue, from Scrapbook U.S.A (the scrapbook store next door), gave me this really neat “Candy Caddy” (an origami box made out of scrapbook paper). This little creation is fast and easy. It makes a cute gift holder, which is perfect for the holidays. She even gave me instructions so I could share with all of you crafty people, so here you are 🙂
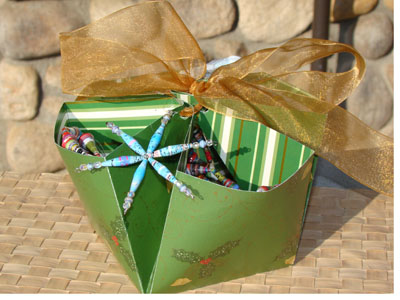
Materials:
-Bone Scorer
-Heavier Scrapbook Paper (Sqaure) 12 x 12
Instructions:
-Take 12 x 12 heavy paper

– Score at 4 inches and at 8 inches, Turn paper once and score again at 4 inches and 8 inches
-Score all four corners
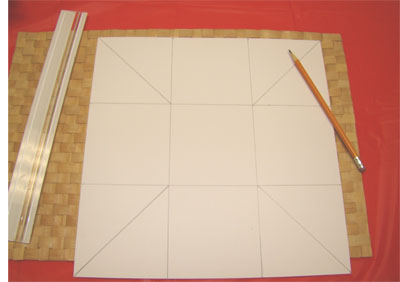
-Fold

-Fold Scored Corners
-Make it go inward
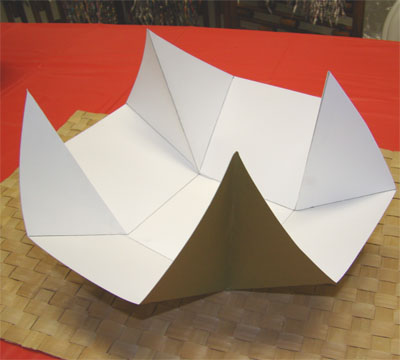
-Use hole punch (going in 1/2 inch in the center) while holding the folded corner and punch

-Thread through and tie a bow, you can also add a button or a paper bead snowflake, to add a little holiday spirit!
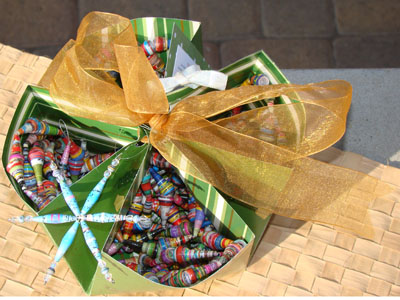
Enjoy!!
Read MoreYour Very Own Jewelry Display Figure
I have been trying to find the right display form for my finished jewelry and paper bead jewelry but there’s not many out there, they too small or too short and everything looks the same. I happen to stumble upon a site that teaches you how to make your own dress form out of duct tape ! I did not want to make the whole dress form and gray duct tape is not what I have in mind so I improvised and made my own with white masking tape.
First, you need a dress form, mine is in red all the more reason to make another one.
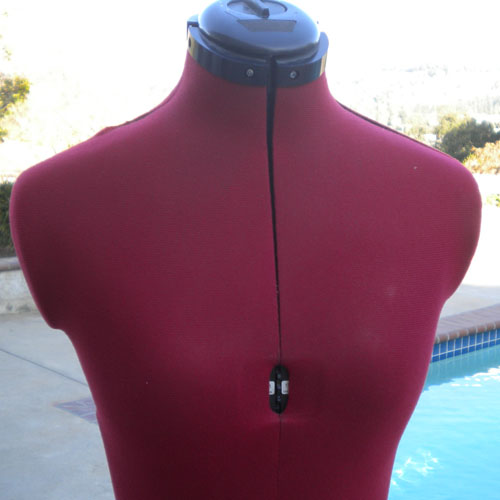
I cut out a pair of stockings and use the top part to put on the dress form (you are doing this so the masking tape does not stick to the form), this would make it easy to cut out the layers of masking tape from the dress form. It is like paper mache idea.
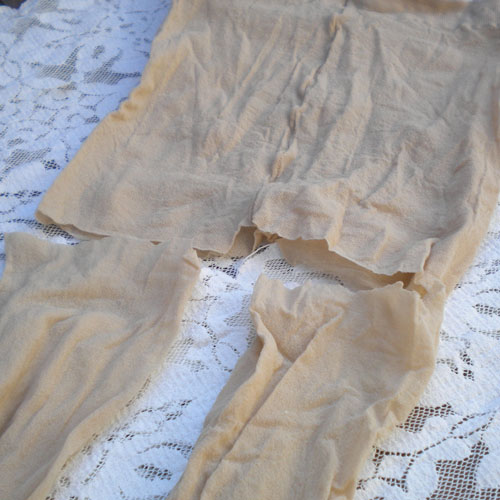
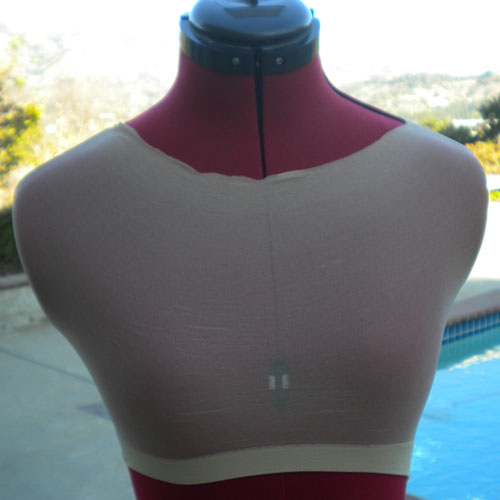
I used a roll of cream colored masking tape and just tear and wrap around the part with the stockings. When it was all covered and stiff, I then cut it out from the back and pealed it off from the dress form. I taped the back together after.
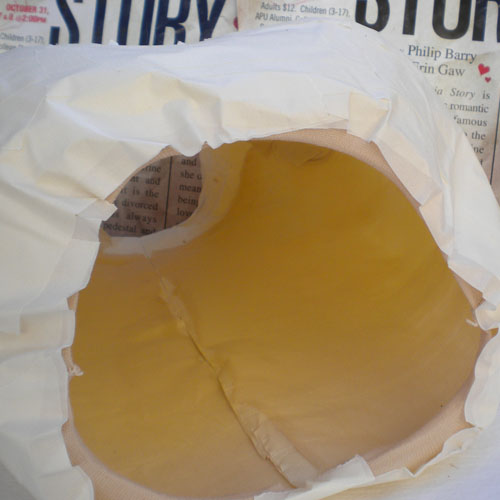
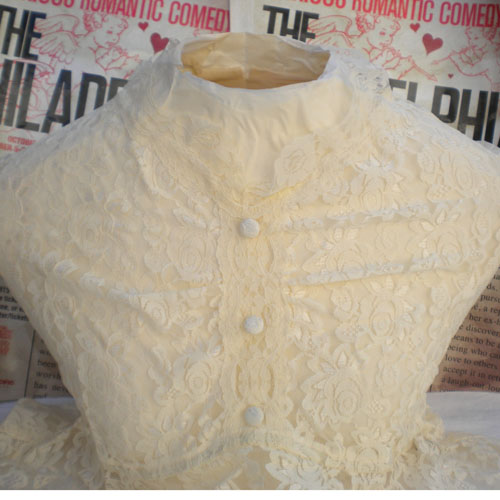
I dressed it up with an old lacy top that I have and adjusted and cinched it up at the back by sewing it to make it fit into the dress form (bust). Now I have my own dress form I can display my nice jewelry with.
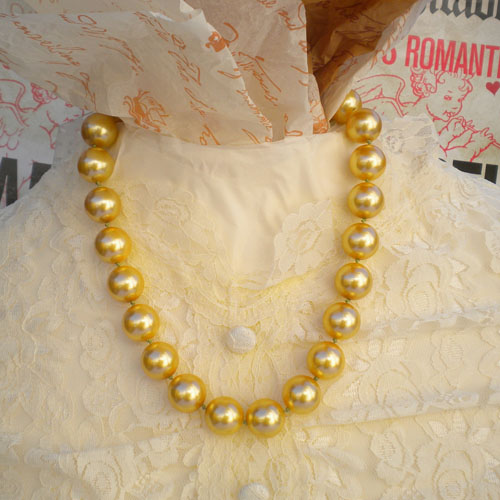
Here’s my Golden Pearl Knotted Necklace.
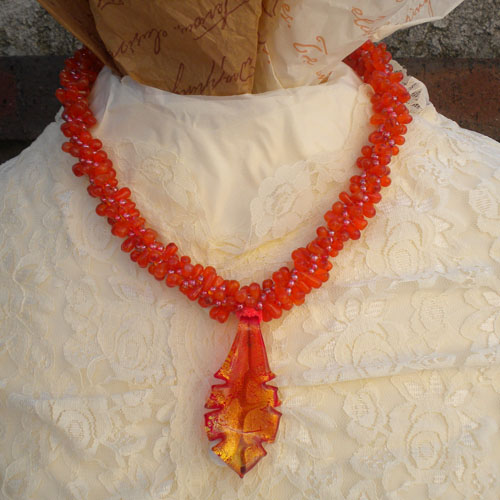
This is another one of my beaded creations; carnelian bead rope crochet.
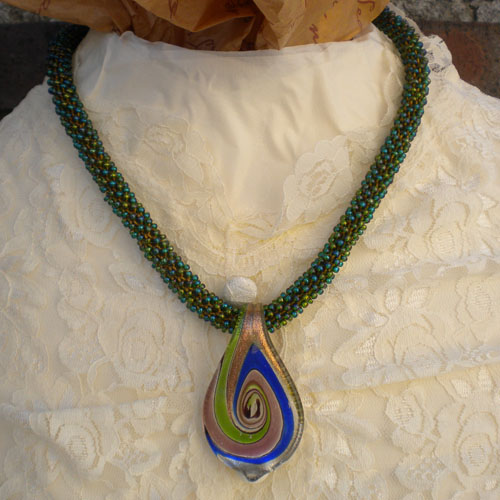
Now, I am inspired to make more stuff to be displayed in my new jewelry display form. I had fun making this green bead rope crochet with seed beads and matching Murano glass pendant.
Recycled Gift Bags w/ Paper Beads Handle
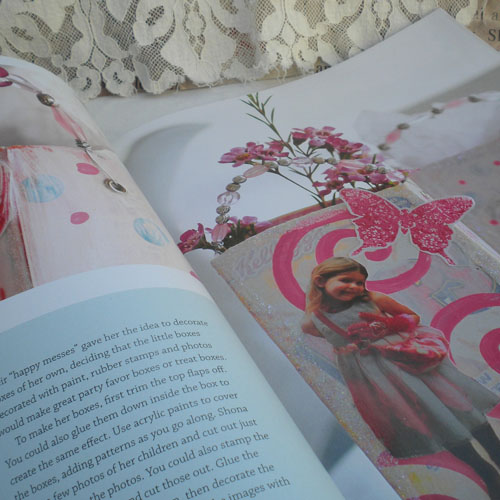
I have been cleaning out my closet and found all these nice gift bags from last year. The problem with it, is that they have the company’s brand name on it and you cannot really reuse them for gift giving. I found an article from Green Craft Magazine, and on page 44 is an article on recycling the small cereal boxes. I applied this idea in recycling the gift bags by cutting out Christmassy pictures from catalogs (I’m sure you are getting a lot around this time), apply glue using glue stick to cover the brand names in front of the bags. I took off the handles and replace them with paper beads. I added some leftover beads to give it a little sparkle.
p.44 of Craft Magazine – they were making little favor boxes from small cereal boxes.
This used to be a gift bag with the brand name on both sides of the bag which I covered with cut outs from Catalogs.
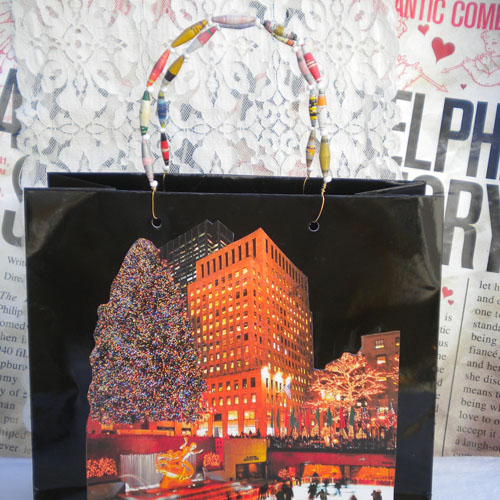
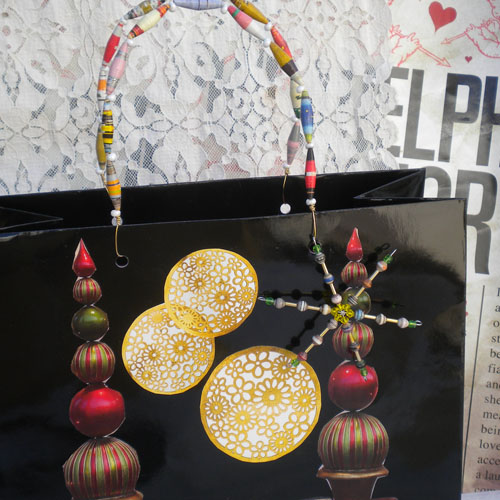
I just use 20 gauge craft wire for the handle, I like the handle to stand up instead of just falling to the sides. This is the other side of bag, I hang the snow flake ornament on the handle.
This box is from an energy drink, I like the front that says Rockstar, I thought this would be nice for an aspriring rockstar in your family. I just experimented on this one and covered the box with tissue and painted it just randomly. I thought it came out funky-cute.
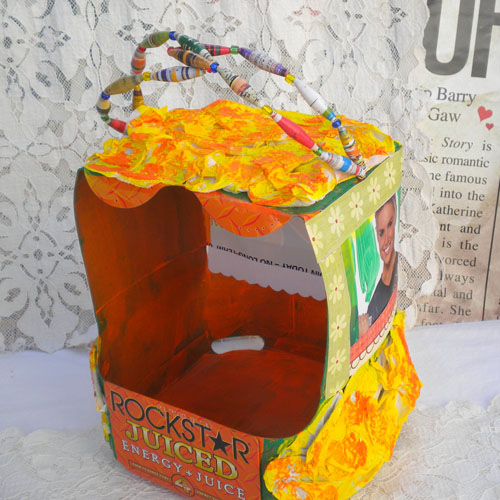
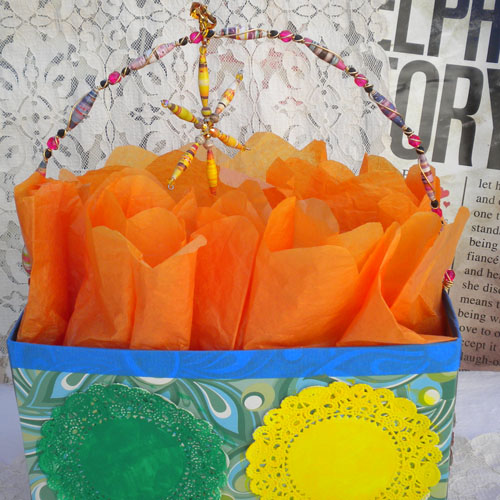
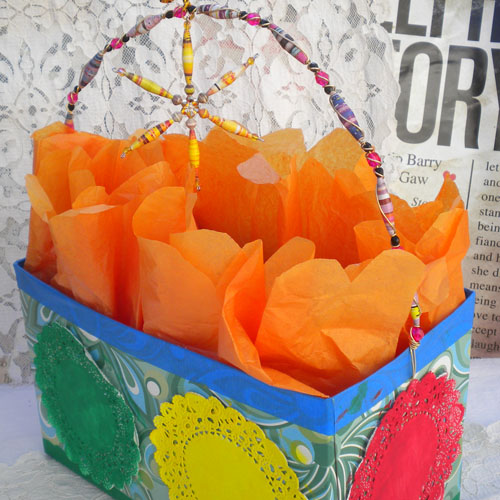
This box as you can see is made from kleenex box, I cut the top off and just put blue masking tape all round it. I glued some paper doily and painted it with bright colors – keep in mind everything on the box are just left over materials that I already have in my craft box. I did the handle differently on this one, I wire wrapped the beads with 20 gauge wire same technique I use for making the wire wrapped paper bead bangle.
It’s pretty easy to make the tube shaped paper beads with the bamboo paper bead roller or if you want to make the smaller paper beads you can go with the metal paper bead roller.




Recent Comments