Wire Wrapped Paper Beads Bangle
Today’s tutorial is inspired by Beth Kraft of Nordic Gypsy. She was showing viewers of bead tv on how to wire wrap left over beads and stones. What I like about this is that it does not require a lot of materials, just wire and your beads, in this tutorial I will of course be using paper beads. The result was light and pretty, very organic looking kind of bangle. This would look great if you wear more than one.
To cut the instructions shorter I have video demonstration on how to make the basic wire loop. I think you know by now that any tutorial we have can also be applied with other beads and they are just one of your very basic jewelry making tutorial.
After learning the basic wire loop, please practice a little bit before starting on the project.
Materials are: 20 gauge non tarnished wire, 2 accent beads and a about 12 round paper beads. Tools are: round nose pliers, flush cutter and chain nose pliers.
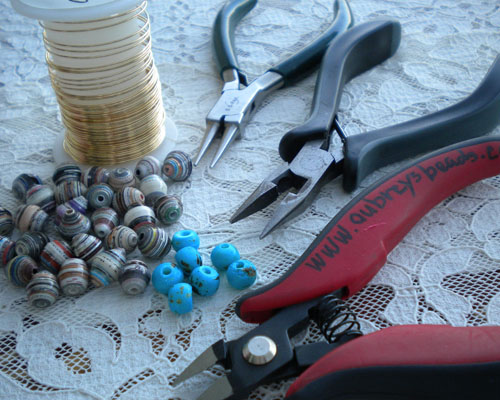
Step 1 – You take about 36-38 inches of 20 gauge non tarnish wire in color of your choice: silver or gold. Leave one foot tail and start your wire loop. Notice that the longer wire in on top and shorter wire is at the bottom. You put in your first accent bead on the shorter wire, the longer wire is for wrapping over the beads.
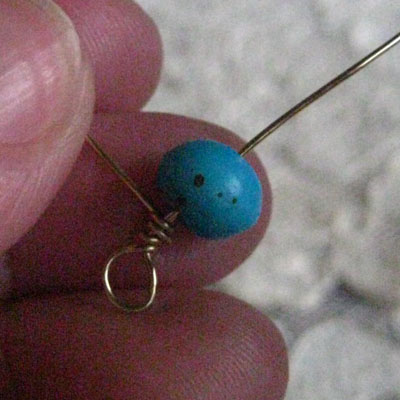
Step 2 – Take the longer wire with your right hand and wrap it over the blue bead once or twice.
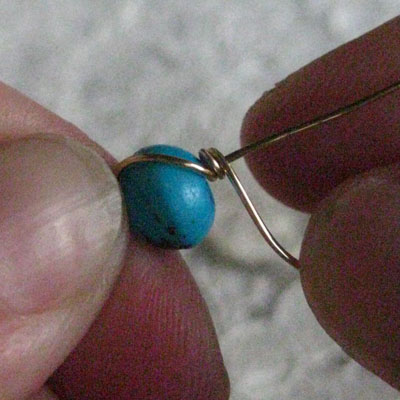
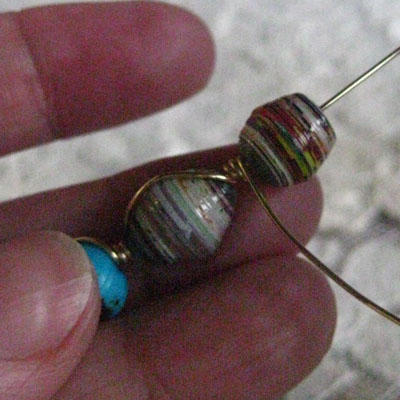
Step 3 – You put in your next bead which is your paper bead (or other type bead of your choice) and wrap the longer wire in the same manner.
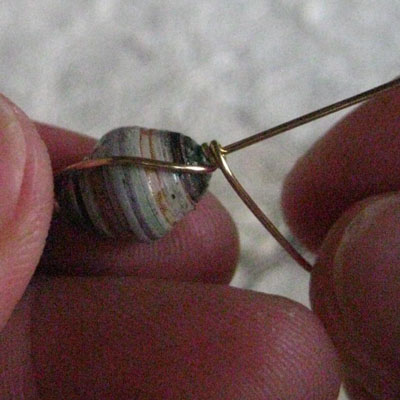
Step 4 – Continue adding beads and wrapping the wire around it until you have your desire length.
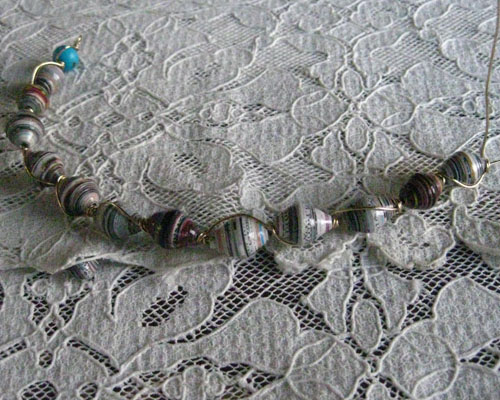
Step 5 – This is how the almost finished bangle look like: it tends to curve around at this point.
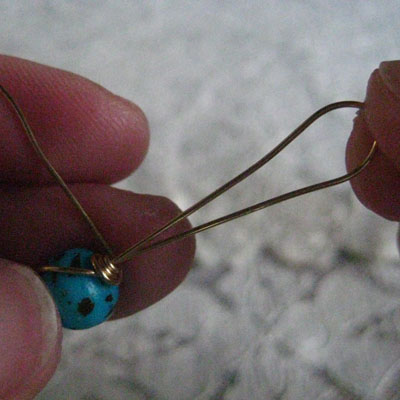
Step 6 – You will trim the longer wire to about 2 1/4 inches and bend it to meet at the base of where you have the last wrap. What you are doing at this point is doubling the wire to be made into an eye hook.
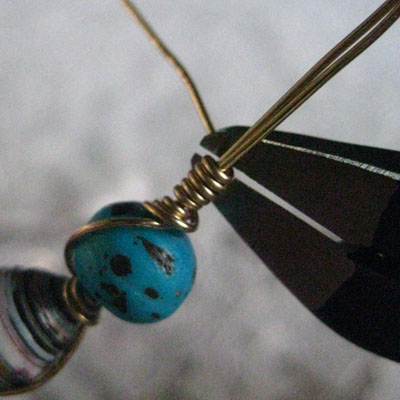
Step 7 – Pinch the wire so that it is completely side by side and straight and wrap the short wire around it . Trim off the excess wire.
Step 8 – Take your round nose put it about 1/4 inch from the base and bend it away from you (this will form the neck of the eye hook).
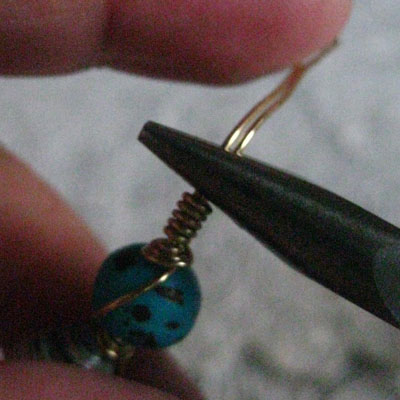
Step 9 – Reposition the round nose pliers just slightly above the neck or the bend and pull the wire to curve towards you.
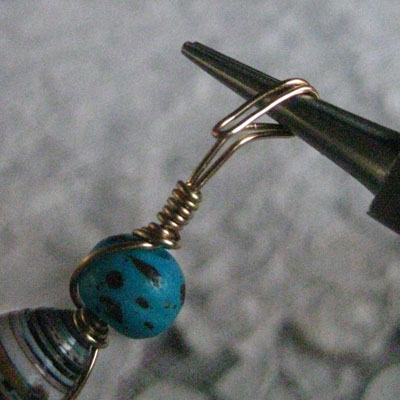
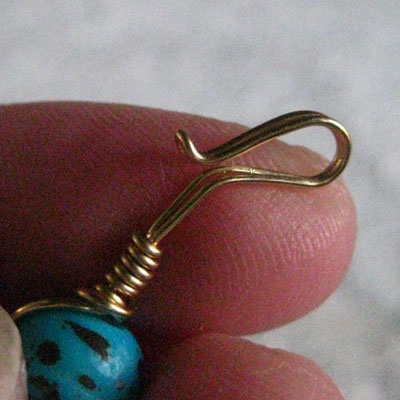
Step 10 – Take the tip of the eye hook with your chain nose pliers and bend it up. This is your finished eye hook.
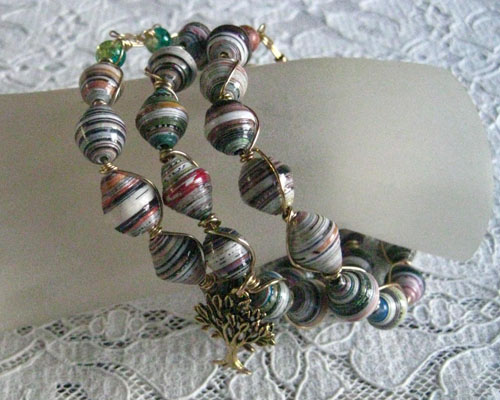
And here are the finished bracelets. Have fun with them!


Recent Comments