Paper Beaded Key Fob
When I look at something, I always imagine how it would look like with paper beads. Certainly, it will be more interesting and eye cathing, it would spark someone’s interest that’s for sure. I found this key fob at etsy (www.gingersnappz.etsy.com), it is pretty as it is but I think you can take it up a notch with paper beads. Here are two examples of finished key fobs and steps on how to.

Paper Beaded Key Fob using hour glass shaped beads (www.aubreysbeads.com)
A different look using the one inch tube paper beads. The tube paper beads is easy and simple enough to do. You can also find them at www.aubreysbeads.com.
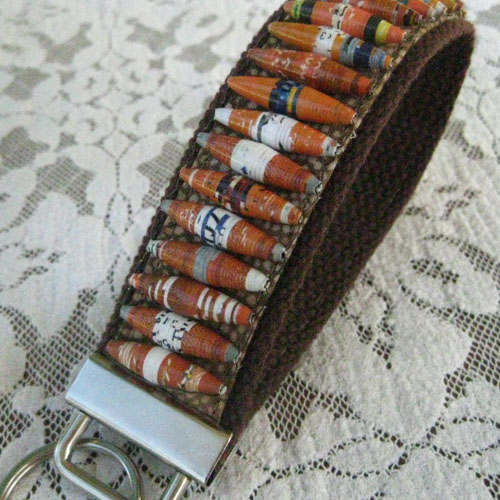
Paper Beaded Key Fob using tube shaped paper beads
Materials needed:
- Key Fob
- monofilament string (48 inches)
- long needle
- 28 gauge wire
- 37 pcs. or more paper beads
Step 1 – Cut about 3 yards of 28 gauge wire, being careful not to kink the wire as it will be quite a challeng to unkink the wire. Tip: you could use a shorter wire in the beginning (it will be easier to work with a shorter wire) and just connect another wire to continue. Put the ends of the wire in the first bead, pull and try to center the bead in the middle of the wire. 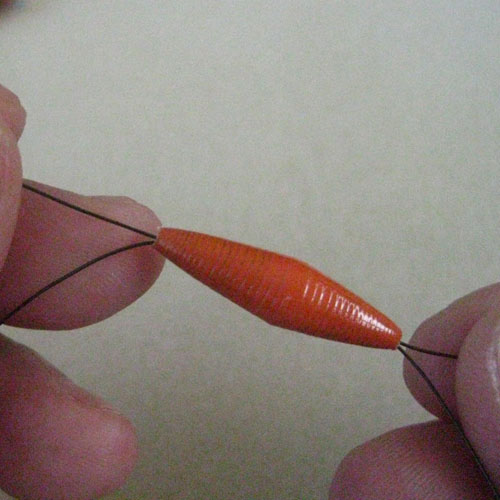
You continue adding the paper bead in the same manner. This is a simple stitch called the ladder stitch.

Then, you add the third paper bead, and you continue until you have a motif long enough to cover the key fob.
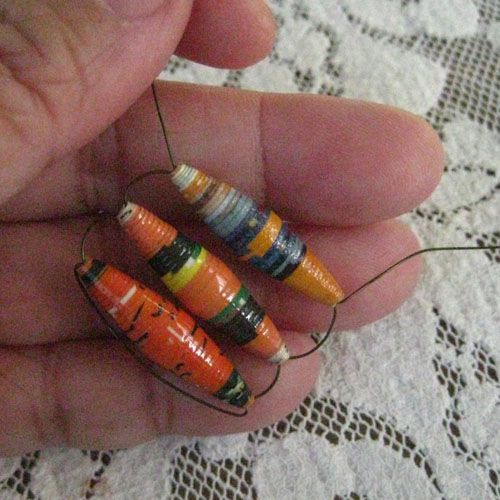
It will take about 37 paper bead tubes for this particular key fob. So now you have here a motif long enough to cover the key fob.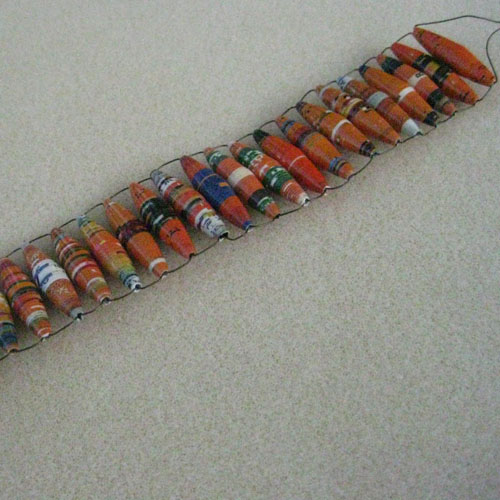
If you prefer to use a shorter wire and you need to add wire to continue – you will add the new wire in the first bead that you started with: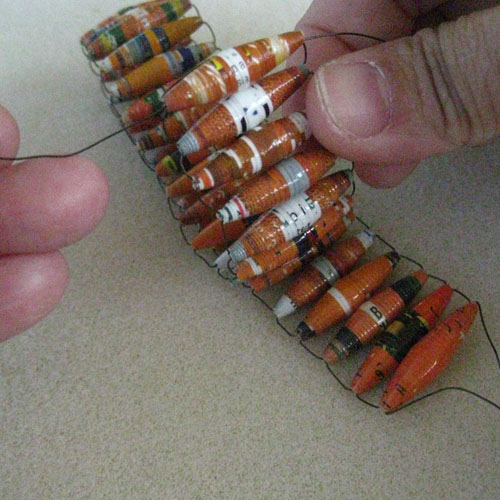
Step 2 – The illustration will show you how to finish the ends of the wire to get your motif ready to be sewn into the key fob.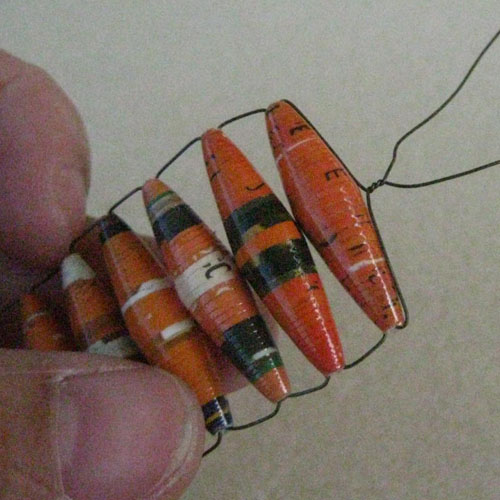
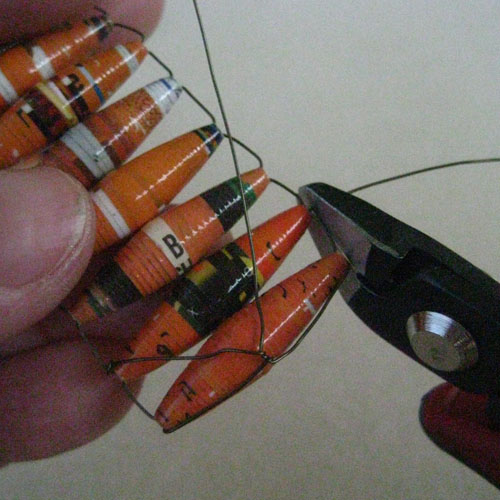
This was done by holding the two wires in your forefinger and thumb and twisting them. You will then lay it flat on the motif which will be your wrong side. Take one side of the wire and wind it twice around the side wire on the second bead.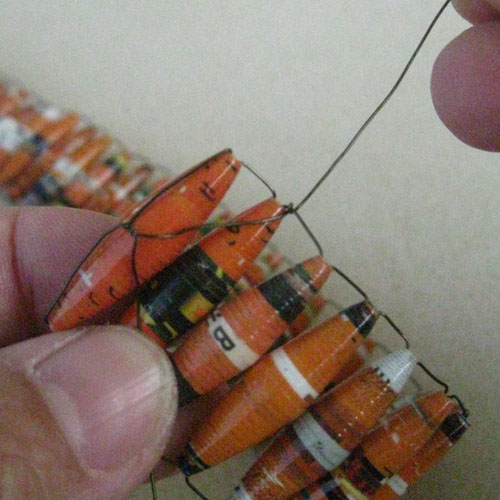
Then, you will put the wire through the hole of the second bead to hide the wire.
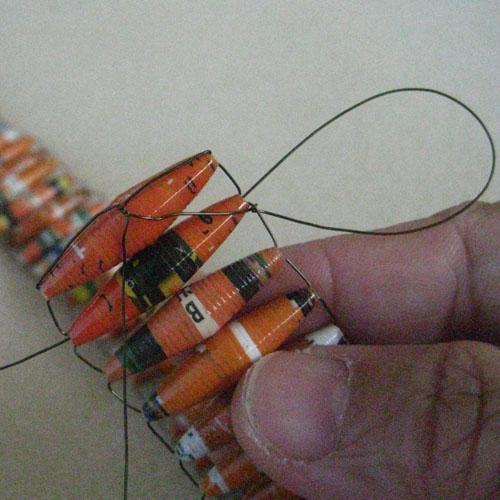
You will do the same thing to the other wire on the opposite side and cut it with a flush cutter or scissors.
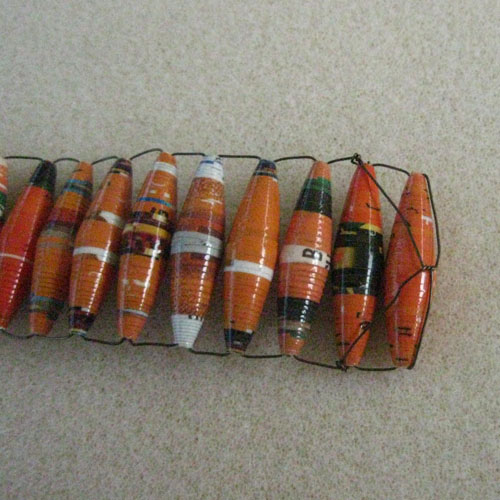
Now, here is the finished motif. Looks like a bracelet doesn’t it? You can actually make a bracelet the same way, maybe using a slightly heavier gauge wire.
Step 3 – You will be sewing the motif down to the key fob. First take about 32 inches of monofilament string and thread it to a needle (I find needles used for doll making easier to use for this project). Make 3 knots ( you want the knot to be big enough so that it doesn’t go through the material, and insert the needle from under the material or key fob.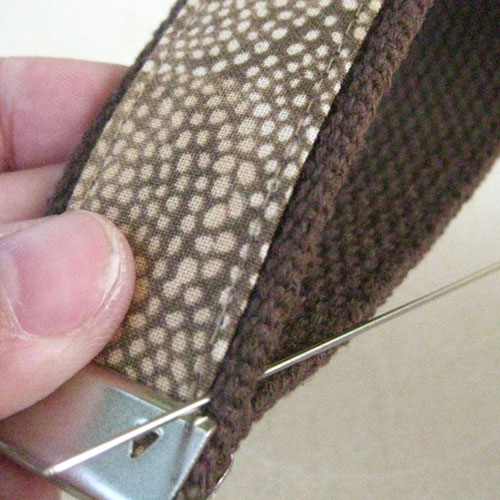
Pick up the motif and start sewing it down to the key fob by bringing the needle up and down, making sure you catch the wire on the motif each time.
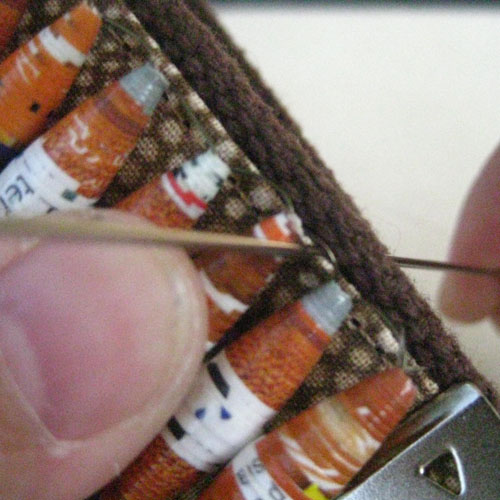 Step 4 – You will end the needle and thread in the opposite spot where you started, underside the key fob so it is not visible.
They key fob is great for office keys, rest room keys, and would make a great present for anyone. Have fun making those paper beads and always be on the look out for great “paper bead it” projects.
Read MorePasta Paper Bead Jewelry
This is a follow up on a previous article on how to make paper beads out of pasta. It is fun, inexpensive and a lot of possibilities. Paper now comes in all prints and texture, if you do not want to use magazine paper, scrapbook supply stores has a whole array of beautiful prints of paper to choose from. This necklace I made out of origami paper in different hues of blue, this actually came in a pack of eight pages of 1/4 of 8 x 11 paper. You can find this also at a craft store like Michael’s.

Pasta Paper Bead Necklace
Paper used for this project is origami paper, available at craft stores.
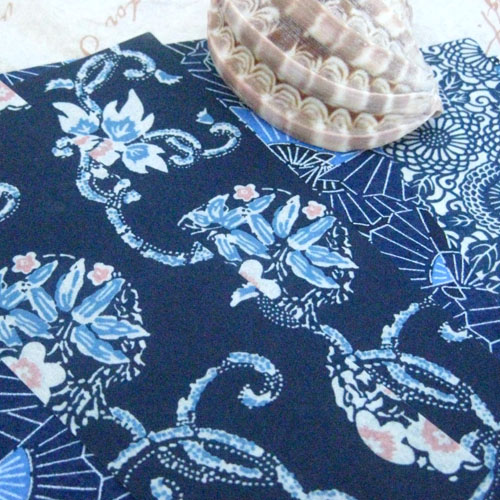
Sheets of origami paper
The materials are: Diamond Glaze (www.aubreysbeads.com), brush, pasta (preferably rigatoni), origami paper, repurposed beads from garage sales or thrift stores, stringing material and findings.
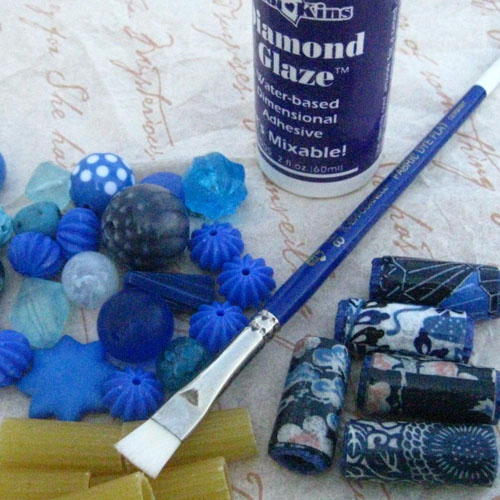
Repurposed beads, finished pasta paper bead and diamond glaze
For instructions and how to please refer to a previous article “Pasta Word Salad Necklace”.
Here’s a pair of Halloween earrings made the same way.
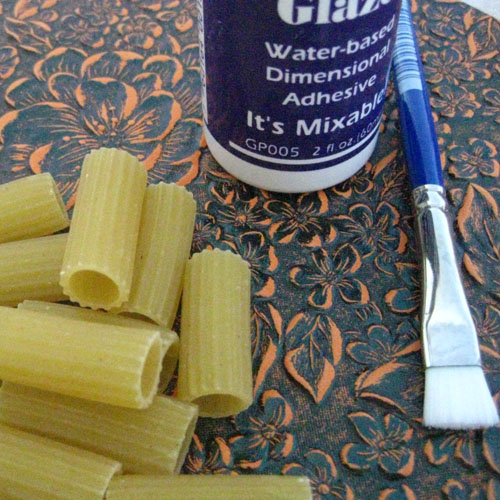
Materials for Pasta Paper Bead Halloween Earrings
I use bead caps big enough to cover the holes top and bottom of the pasta paper bead, you can use ribbons shaped into flowers or big spacers. The charms I also purchased at a scrapbooking supply store.
Here it is! Cost of project, approximately $3.00 and all hand made by you! Enjoy.
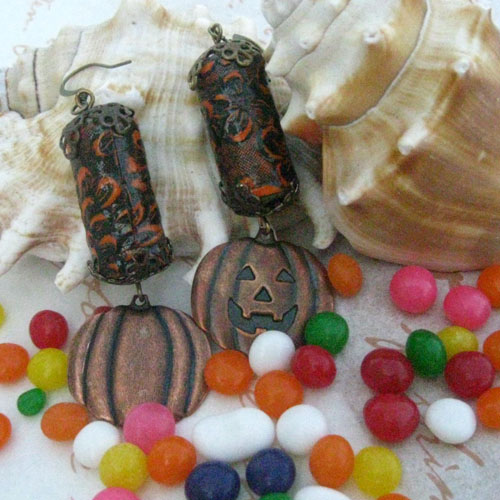
Pasta Paper Bead Halloween Earrings
Pasta Word Salad Necklace

Beads made out of pasta and paper
Can’t sleep? Think of other ways to make paper into beads. I remember as a child stringing macaroni into necklaces and painting them. As I was cleaning up my kitchen pantry, I was about to throw a bag of rigatoni which is about 3 years old when I thought of trying this idea. So, here’s the materials for this project:
- 5 or 7 pcs. of rigatoni (choose one that are evenly cut and shaped like tubes)
- Diamond Glaze (www.aubreysbeads.com)
- restaurant menu or old magazines
- old beads
- barbecue stick (to dry the beads)
- paper plate and old make up brush
- softflex and findings to finish jewelry
- spacers big enough to cover the top and bottom of the finished bead
Here’s a sample of the kind of paper I used: old restaurant menu and Catalog ( I love the Isabella Catatog because it has inspirational pieces), like this one.

Old restaurant menu

Old Isabella Catalog

A catalog page with cool words on them
Step 1 – Cut strips of paper (make sure you position where you want the words to be) as wide as your pasta and about 6 inches long:

Strip of paper to be used to cover the pasta
Step 2 – Squeeze Diamond Glaze into the paper plate.

Pasta, brush and Diamond Glaze

Step 3 – Brush the pasta and the paper with the glue and start rolling the paper, continously adjusting it with you thumb and fingers to keep it straight.
Step 4 – Squeeze a generous amount of glue into the paper plate and roll the whole bead in it to keep it evenly coated.

Step 5 – You will then put the finished bead in the barbecue stick and let it dry. Apply glue until you get desired effect. The Diamond Glaze dries pretty quickly.
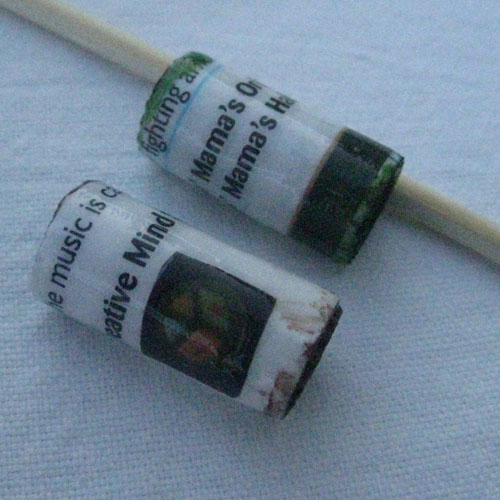

Step 6 –


I am trying right now doing the same thing but with origami paper. We’ll see how this one would turn out. ‘Til next time………
Read MoreBamboo Paper Bead Roller
Got old magazines and left over scrap booking paper? The paper bead roller kit is here and fun to use. It would take a little bit of practice and patience to master the “art of rolling paper” into paper beads but a few tries should do it. You will find a step by step photo on how to use the bamboo roller.

The Paper Bead Roller Kit
It comes with: 225 strips of cut-out magazines, 2 tubes of 2cc Diamond Glaze, 2 sets of bamboo roller and 2 brushes.
First Step: Take a strip of cut-out magazine, and with the right side facing you fold the edge to about one eighth on an inch.
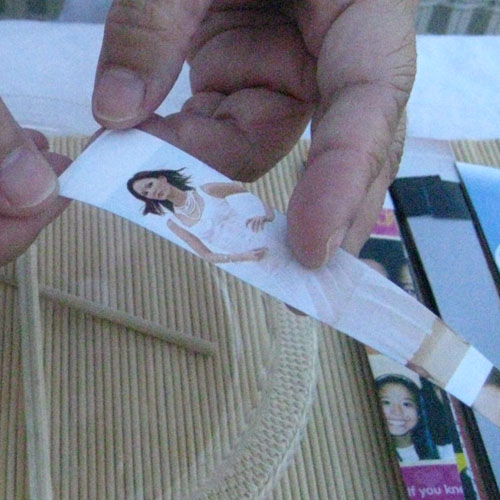
First step
Second Step: Take bamboo roller with the slat in your right hand and insert the base of the paper triangle with the fold in between the slat. You take the other part with your left hand and insert it in between the slat and the paper.
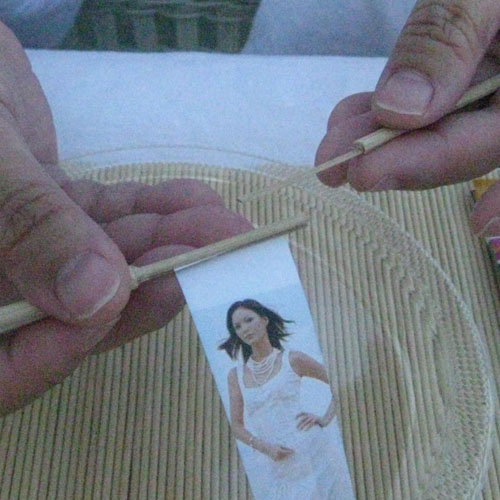
Step Two
Step Three: Start rolling the paper with your thumb and fingers as shown:
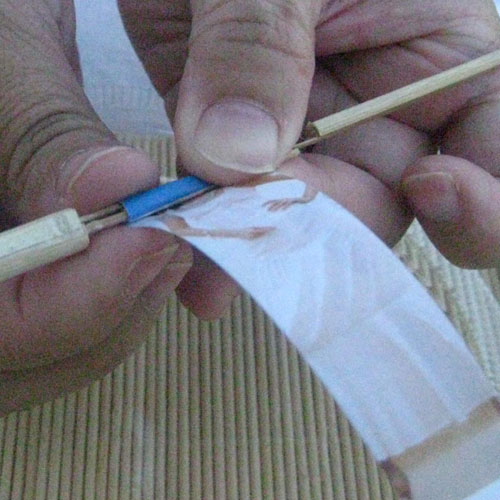
Step Four: You continue rolling with your fingers until you have about 2 1/2 inches left.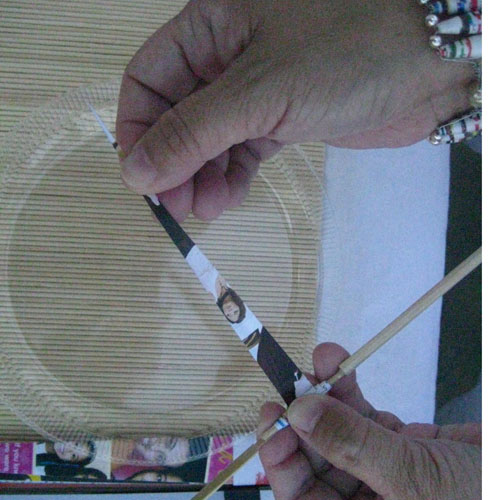
Step Five: Squeeze a little bit of the Diamond Glaze, not a lot since they can dry up really fast, just about a size of a quarter onto a disposable plate.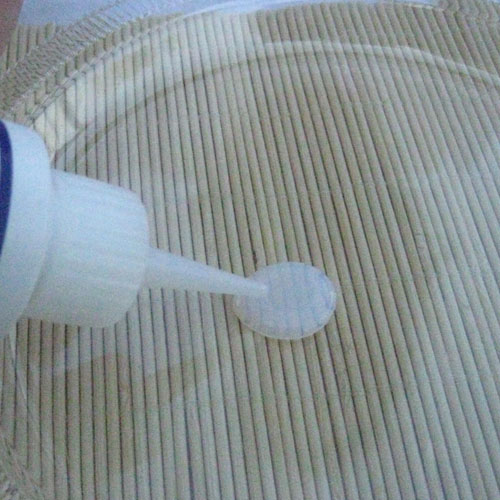
Step Six: Take the brush and brush the remaining 2 1/2 inch of paper with the glue.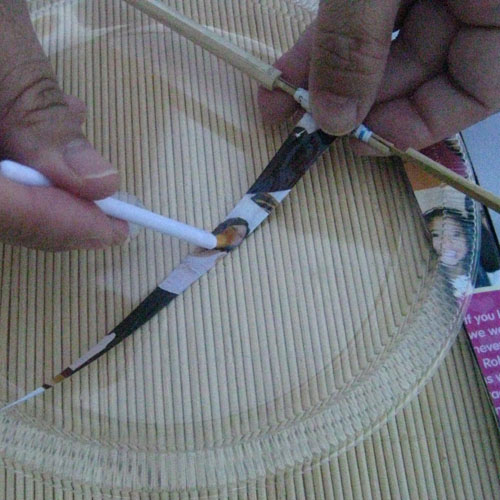
Step Seven: Continue rolling the rest of the paper. It’s okay to get the glue on the other parts of the paper bead because it also serves as the top coat.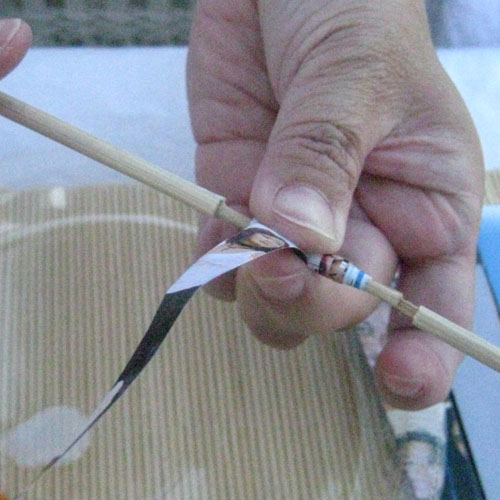
Step Eight: Now you are ready to remove the part of the bamboo roller that is in your left hand.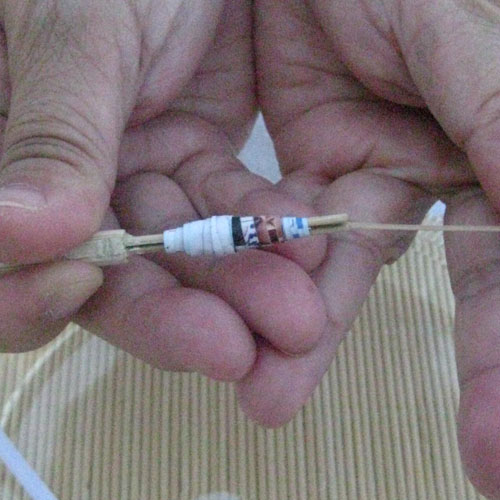
Step Nine: Squeeze the paper bead gently and slide it off the bamboo roller.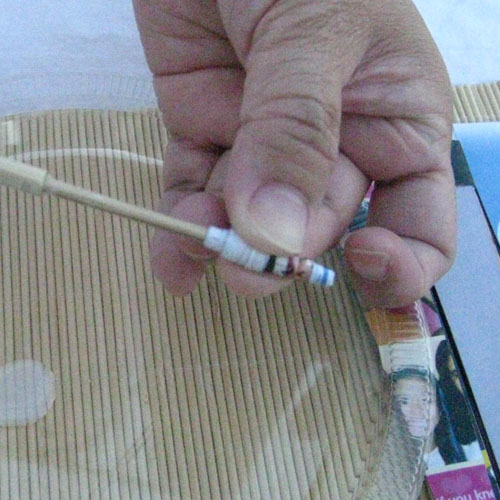
Step Ten: You would then put the paper bead on a tooth pick and stick it on a styrofoam to dry. After an hour you can reapply the glaze again until you get the desired result.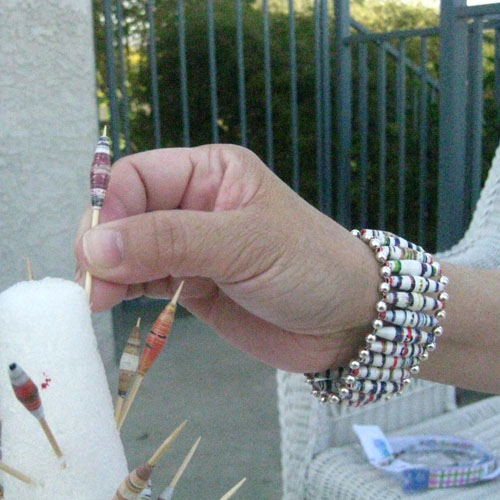
Make as many as you like, enough to make a piece of jewelry or a lot for a bigger project.
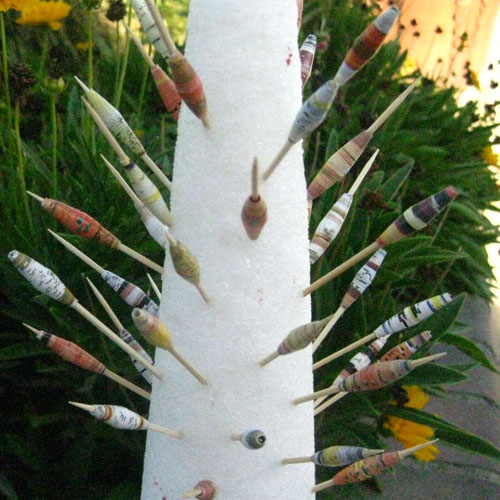
You can purchase the Paper Bead Bamboo Roller Kit at our online shop: http://aubreysbeads.com or www.janicemae.etsy.com
The Bamboo Paper Bead Roller Kit
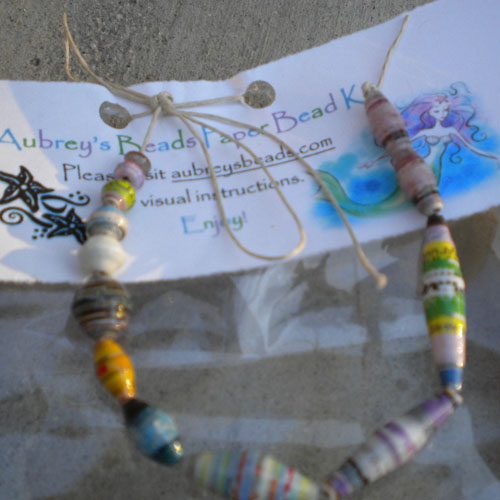
It comes with already made paper beads as seen on this photo.
Read More




Recent Comments