How to make super tiny paper beads!
Here’s a short video on how to make these super tiny paper beads
Read More
Paper Beads Out Of Zentangles
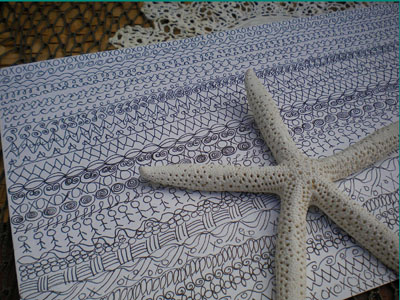
This is a follow-up on yesterday’s post on zentangles. It is another way to make paper beads, this time not the usual magazine pages but from a doodled page. First, I doodled on a long bond paper, this would come out different if you will use a heavier paper like construction paper. Then, I cut them up into strips and rolled them into paper beads using the metal paper bead roller.
The measurement for the triangles is 1/2 inch at the base and 14 inches long, the size of a long bond paper.
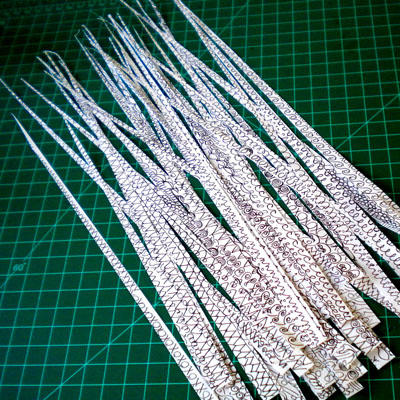
Here’s the video……
They look like spotted eggs, don’t you think?
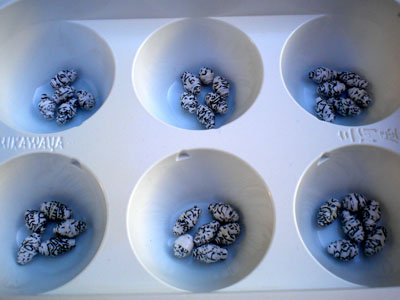
I think this can be made into a guys necklace with black beads.
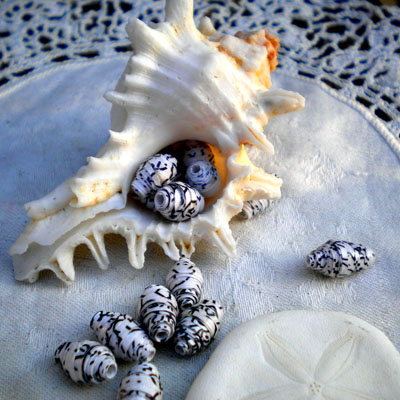
Perfect jewelry to go with the black and white outfit!
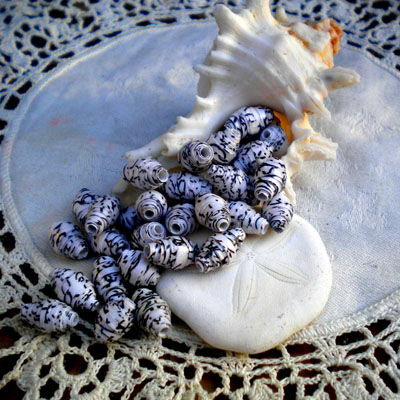
And the fun part, is turning it into wearable art 🙂 Another day of turning the ordinary to extraordinary.
Read MoreNew! Paper Bead Shapes
Hello everyone! I am taking over Janice’s blog for today to share with you what I did with leftover paper strips. We are all taking a break after we have filled orders from the CHA Show last winter. BTW, I am the sister Joann who is based here in beautiful Philippines. So, here is what I came up with when I tried new shapes, Janice game me the task of coming up with new shapes 🙂
First, You take about 100 strips of triangles, size of strip: 6/16″ – 1/4″ the length is 16 3/4″. You glue each strip of paper at the base to hold them together, maybe use a glue stick to do this. This is how we cut the magazine pages, first we glue the edges together.

Second Step: You hold in your hand the 100 strips of paper that’s glued at the base and start rolling.

Step 3: You glue each strip of paper as you go along to hold it in place, making sure that each piece is in line with the rest.

Step 4: At this point, you have glued all 100 strips of paper together, now you have 50-65 strips of paper that needs to be glued to the first 100 strips you rolled. Take two strips of paper and glue it to the previous strips that is visible on the side of the big circle you have made at this point. Basically, what you are doing is overlap two strips of triangle to the edge of the big circle every two strips of the 100 strips.


This is how the 150-165 strips of paper will look like after they have been glued together, as big as a small saucer. You can use this as a trivet or as a coaster! Just an idea.

If you push the middle part of the circle, then it takes a cone shape form or a hat.

Here they are looking like hats or cones

We had fun with it, trying it on paper dolls and figurines!
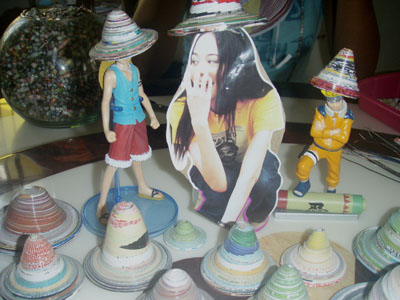
I don’t know what to do with these yet (I guess I leave that up to my sister). I think it will be a good paper bead curtain accent, Victorian cones and fill it with paper flowers…….what do you think? If I have not explained everything correctly, just leave me a comment here and I will answer any questions.
Read MoreSpace Them Out With Paper Beads
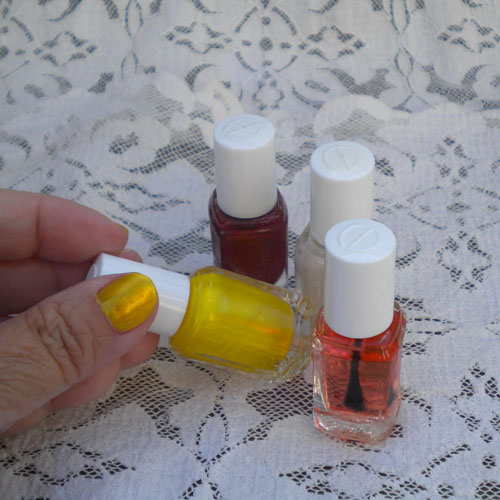
When I feel I need a little “pick me up”, I paint my nails fun colors. Last night, I decided to take a break from my projects, watch tv, eat dessert and do my nails! So, as I was helping my self to a box of pastries and painting my nails, I thought that the golden yellow color would look nice on paper beads, and the box has a perfect texture for paper beads. Gone was my intention of not making any paper beads.
And the box of patries
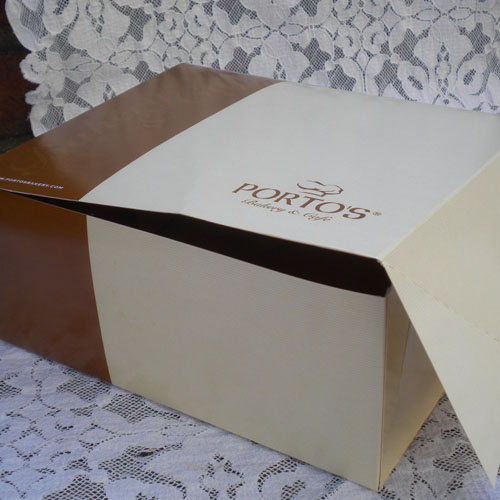
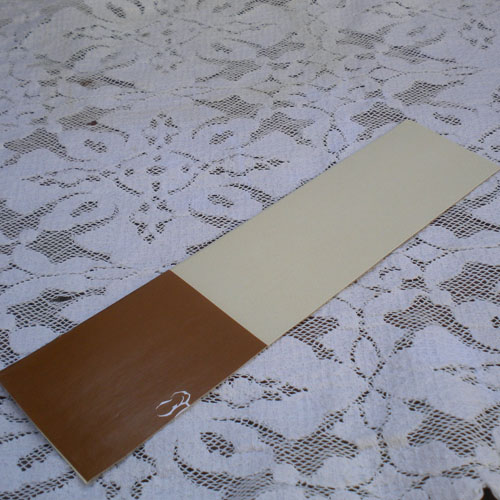
I cut the flap on the box, the whole box can make lots of beads.
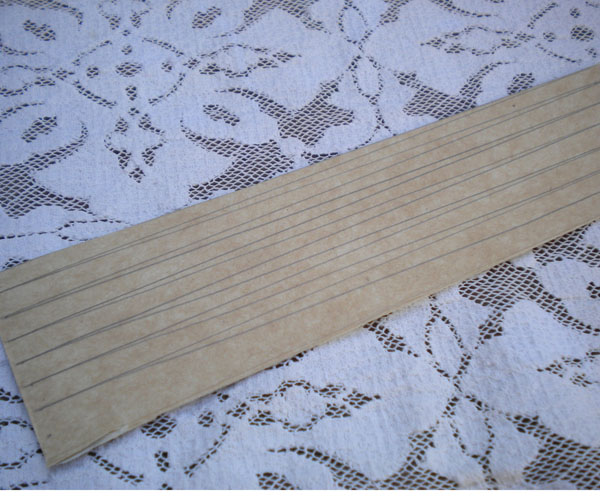
I marked the lines 1/4 inch apart and should look like this. I cut them up into strips and I used the metal paper bead roller
To make things easier for me and for you most specially, here is a video
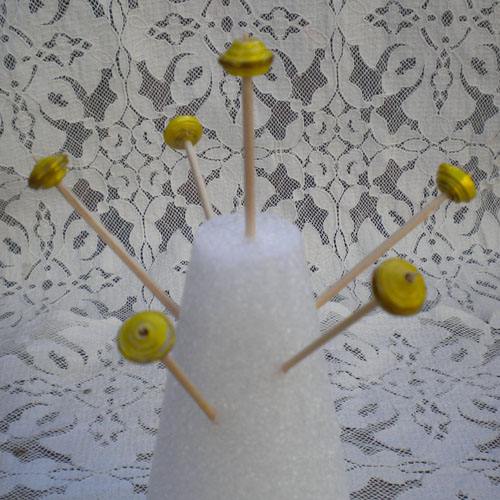
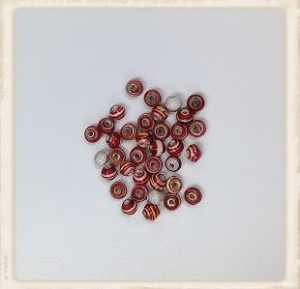
Here is the finished spacer paper beads.
How are you going to use your spacer paper beads? Let’s meet up here tomorrow and let’s see what I have come up with.





Recent Comments