A Sizeable Saucer Bead
I wanted to try something for the first time and film it. I wanted you to see the real thing without editing or rehearsing so that you see the mistakes, etc., As you can tell, I am still on the saucer topic and this time I wanted to try and make one big humungus Sauc er Bead by rolling 76 strips of paper together! I actually counted them:)
I am excited as to the possibilities of this Big Bead!
Read More
Coiled Bead Cuff – day 87
This is one of our “Bead Rehab” project where Kayla replaced the silk flower with our Saucer Shaped Bead. I like the “designer” look on this piece and the clean and sleek finish.
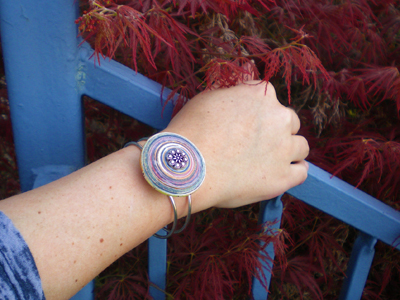
We just got the New Saucer Shapes and we are absolutely loving them!
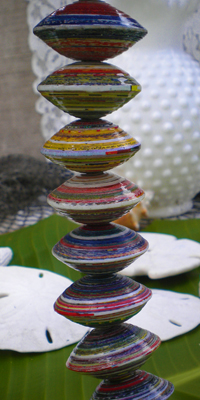
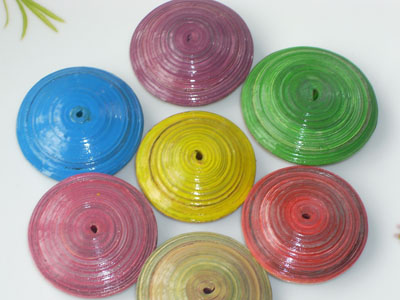
Much as I love the painted beads, the true magazine colors are captivating, don’ t you think?
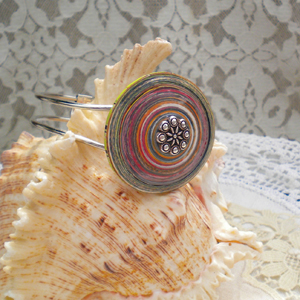
Totally hand made, that requires patience and time 🙂
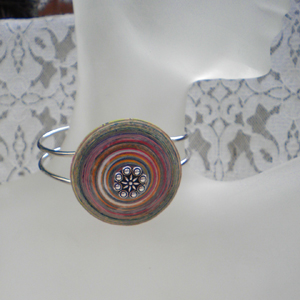
Swirly Medallion – day 43
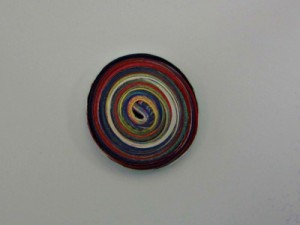
Several strips of paper went into the making of the saucer shaped bead. You can see the true color of the magazine pages, creating beautiful swirls of colors.
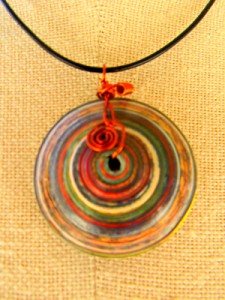
Wire wrapped into a pendant.
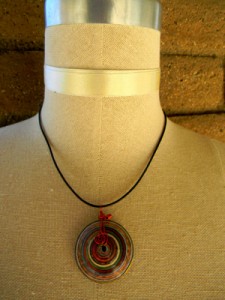
The simplicity of the piece, makes it open for layering with other chains
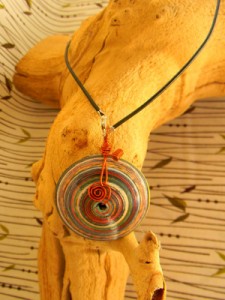
A Tutorial on Saucer Shapes
Is it a spacer or a saucer? A button or a charm? However you may call this saucer shaped bead it is versatile in its uses and most amazing thing of all it is made of paper! Finally, here is the tutorial, it took awhile for my sister Joann to put a video together and I am writing out for you the instructions.
These instructions is for one large saucer bead which measures about 1 3/4 inch in diameter.
25 triangle strips ( 1/2 inch at the base and 17 inches long) – this is the first part of the bead
13 triangle strips (3/16 inch at the base and 17 inches long) – this the 2nd part of the beads
metal or bamboo roller
elmer’s glue or any white glue
You will hold the 25 triangle strips in your hand and roll the first 2 or 3 inches with a roller (how big your roller is will determine the hole of your bead). You will continue rolling (you can take out the roller at this point), hold it tightly while doing it and glue the ends as you go as seen here. After the first 25 strips are rolled and glued, you will then take the 13 strips and join it to where you ended the first round and do the same thing. Here’s the rest of the instructions:
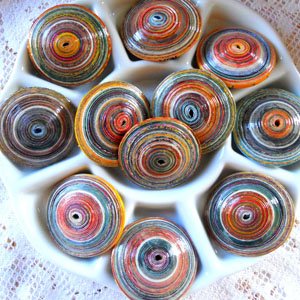
If you want to have a particular color in mind not the magazine colors you see above, you can paint them into different colors!
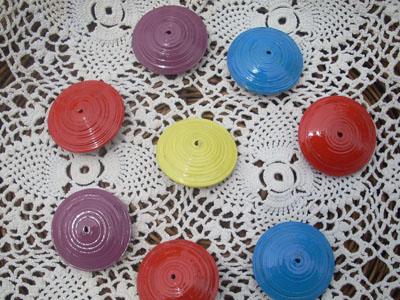
I would like for you to try it and then show me what you did, you can do so by emailing me photos and we can share it here. Sunday, September 26th will be the last day for you to sign up for our Paper Bead Trade, you can do so by leaving me a comment here.





Recent Comments